This post may contain affiliate links This means that if you click and purchase, I may receive a small commission at no extra cost to you.
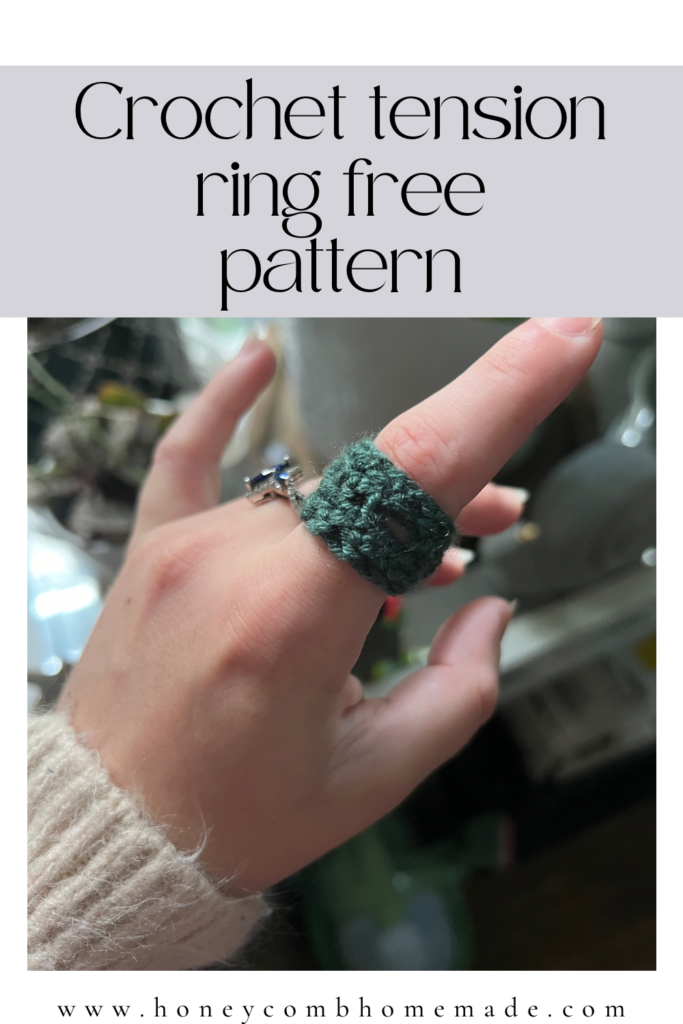
I’ve been working on a few larger crochet pieces that have been frustrating me lately. The other night I just wanted to make something easy, something that I could finish in like 20 minutes. This crochet tension ring was the perfect thing to make after working on huge projects.
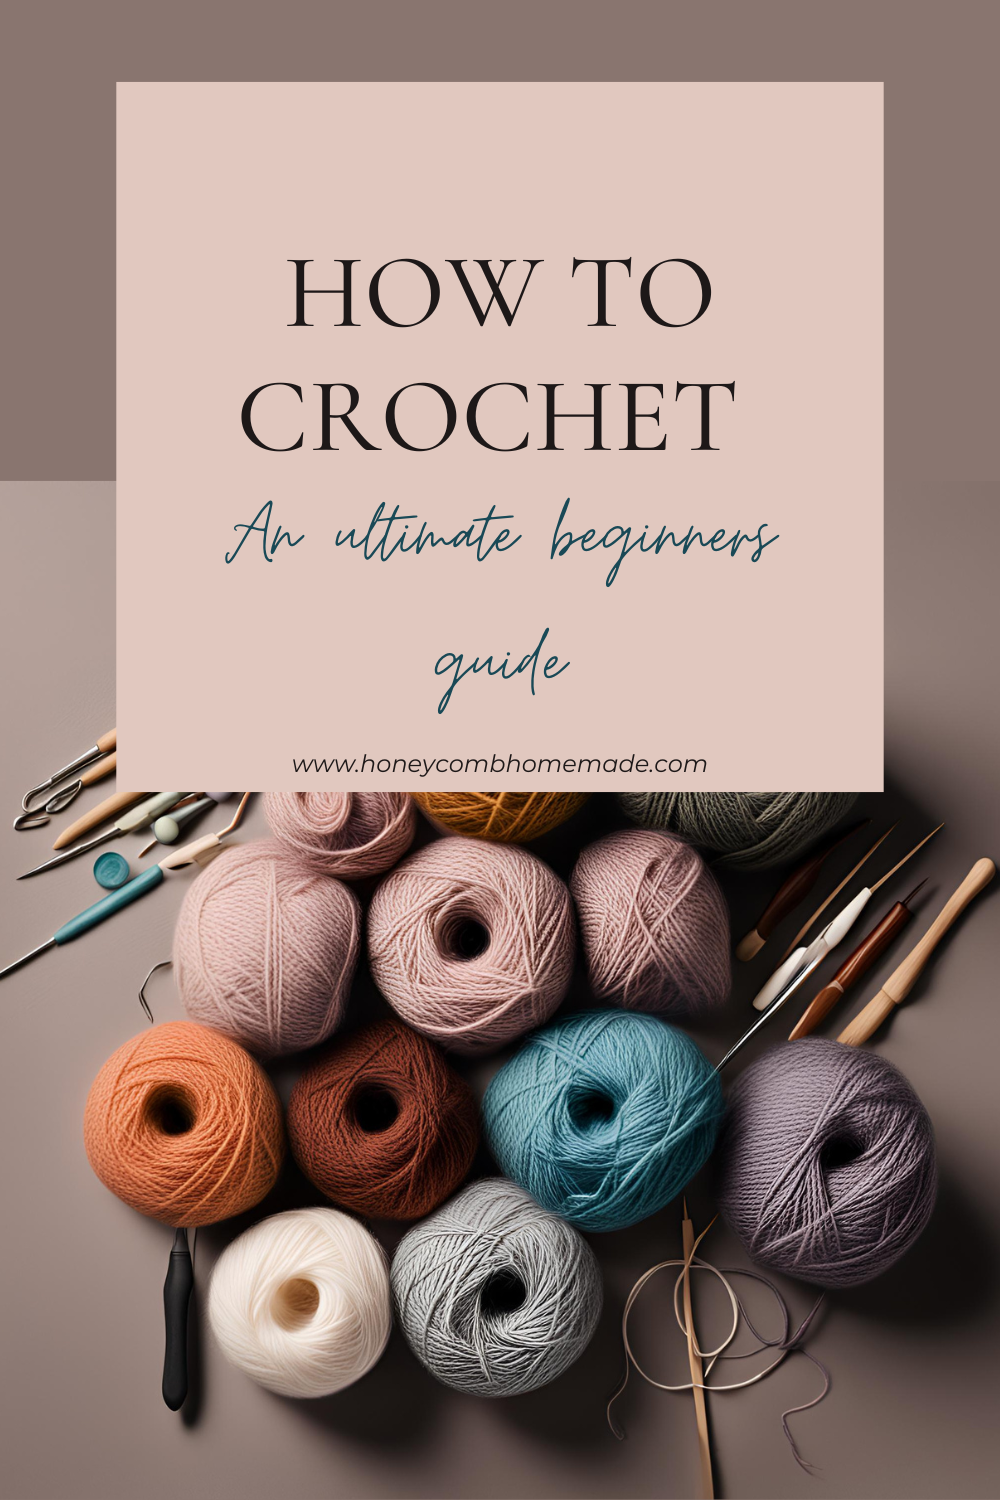
This pattern is made by using simple single crochet and chains. If you are an absolute beginner or need refreshing check out my ultimate beginners guide to crochet.
I’ve been wanting a crochet tension ring for a while. I’ve had a metal one in my cart on amazon for a few months now. I might actually try to make a wire one myself now that I’ve made a crochet version.
The ones you can buy are super cute. *Affiliate link* Like these for example. but Oh, how simple to just crochet one myself.
I wanted to also see if I even liked using a crochet tension ring before I went out and spent any money. It is a slight adjustment to your crochet rhythm to use one. Now that I’ve tried it I do actually like working with one. You wouldn’t think that the ring is able to hold the yarn tight enough, but it does.
Materials
Dk yarn: leftover yarn works really well for this, but I used this one from hobby lobby. Make sure its DK yarn and not worsted weight. For rings you don’t want it to be loose or bulky in any sort of way.
4mm hook: I’m using these *affiliate link*
Yarn needle
Scissors
The pattern

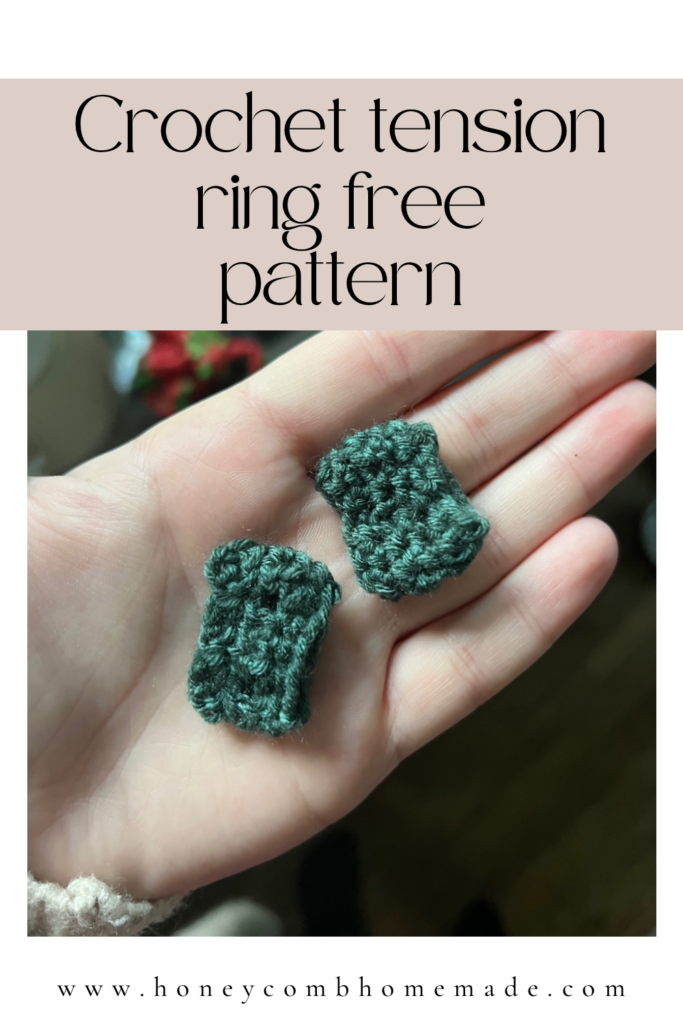
You can make this ring with 4 rows.
Chain around your finger. ***You want the fit to be slightly tight*** It will stretch and you want the fit to be snug.
I chained 12 +1
R1: Sc across. Ch1 turn
R2: Sc 4. ch2 skip 1. Sc 2. Ch2 skip 1. Sc 4
4+1+2+1+4=12
(if your making this bigger, try to do increments of 2 if you can and add 1 sc on each side. If not youll just have an uneven number on one side) For example if your chain was 14+1 you would do sc5 ch2 skip1. Sc2 ch2 skip 1 sc5. That way the chain 2 skip 1 are in the middle.
Ch 1 and turn
R3: Sc across. In the ch2 spaces only Sc once into the space. You should have the same number of stitches you started with. 12 stitches. Ch1 turn
Row4: Sc across again
Voila and you’re all done in 4 rows!
You could make this thicker and do the same sequence again if you wanted more room for color work.
Another version
I made one that I added another fancy row. (that would also double as a secondary yarn holder for colorwork).
Instead of your 4th row being another row of Sc.
R4: sc1. Ch3 skip 1. Across. Sc the last stitch.
Leave a longer tail. Take your needle and stitch it up!
I hope you enjoy this quick and easy project if you’ve made it comment a picture or tag me on Instagram! Happy crocheting!


