This post may contain affiliate links This means that if you click and purchase, I may receive a small commission at no extra cost to you.
Fall already? It’s still August at the time of this post and it’s 80 degrees where I am but I’m feeling the fall vibes already. Fall is my favorite season overall and I’m so lucky to live in a place with gorgeous fall colors.
To start off the season I made a cute mini pumpkin crochet pattern. Making this only took me about an hour from start to finish.
Its a pretty easy crochet pattern. I think all the beginners out there will appreciate this one.
I think I’m going to make a whole bunch of little fall themed things to put around my house now.
Materials
Medium weight 4 acrylic yarn in the colors orange, brown, and green. My favorite kind of acrylic yarns are I love this yarn from hobby lobby.
For this specific pattern I used I love this yarn in burnt pumpkin, red heart brown I actually don’t know the exact color I used anymore because I threw away the tag a long time ago. I love this yarn in forest green. (my favorite green to work with for a lot of things. A great color.
You will need some crochet hooks. I used a size 4mm. *affiliate link to the exact one I’m using here*
This project does use stuffing. *Affiliate link* I use this poly-fil. but you can really just buy a cheap pillow and use that stuffing. It’s cheaper.
Tapestry needle and scissors as always.
*Affiliate link*Here is a cute little crochet kit that has all the fixings you’ll need for most projects! Crochet hooks, stitch markers, rulers, and tapestry needles.
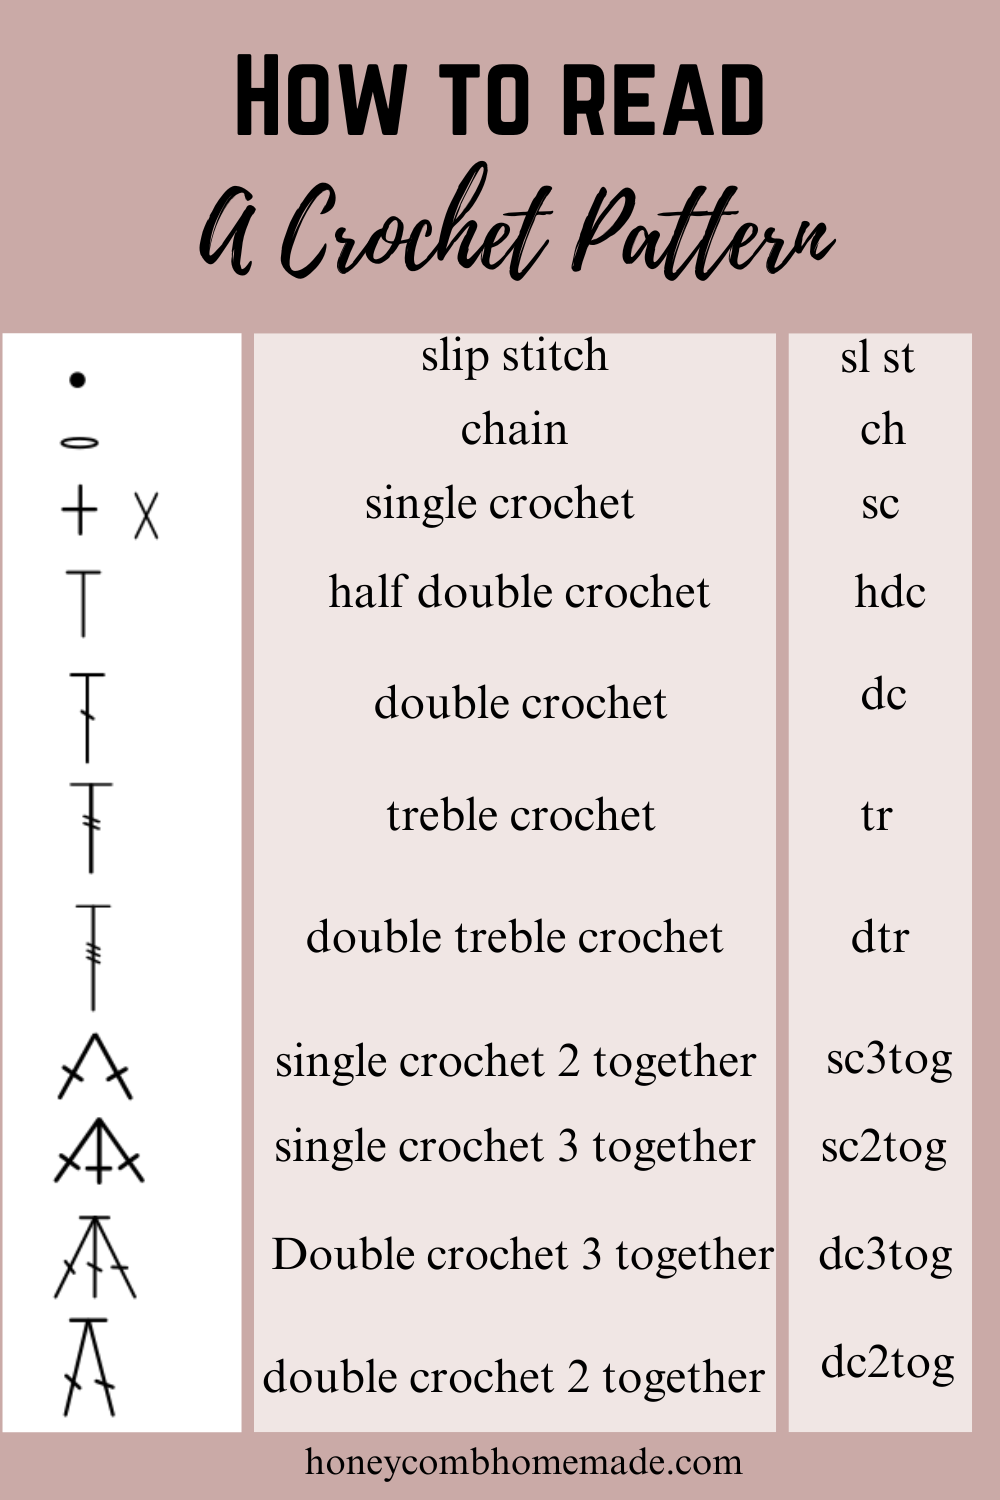
Abbreviations
A few different techniques are used in this crochet mini pumpkin pattern including working in the round, magic rings and crocheting in the back loop only.
I have a blog post you can find here if you need any extra help setting up your magic ring.
Ch: Chain
Sc: single crochet
Blo: Back loop only
MR: Magic ring
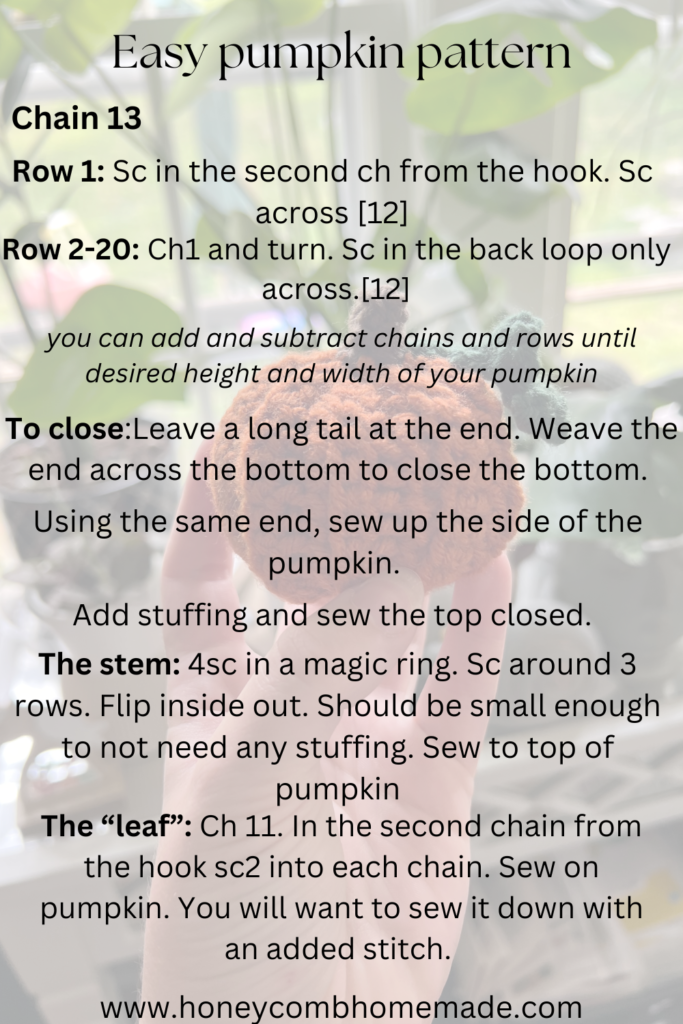
Crochet mini pumpkin pattern
Ch 13 (Any number is fine it does not have to be an even/odd multiple)
Row1: Sc in the second ch from the hook. Sc across [12].
Row 2-20: Ch1 and turn. Sc in the Blo across. [12]
You can add and subtract chains and rows until desired height and width of your pumpkin.
To close: Leave a long tail at the end. Weave along the edge across the bottom and cinch to close. Using the same end, sew up the side using your tapestry needle. Add stuffing and sew the top the same way you did the bottom to close.
The stem: Using your brown yarn now. Make a MR and Sc 4 into that. Crochet in the round 3 times. 4 stitches per round. Flip this inside out and sew to the top of the pumpkin.
The leaf: I didn’t know how I wanted this leaf to be at first. I had just finished a jellyfish actually so I thought why not make a short little “tenticle” as the leaf. I personally think it turned out really good.
Ch11
In the second Ch from the hook Sc 2 into each stitch.
Each stitch having 2sc will make it turn into a spiral.
Sew the top of the leaf to the base where the stem meets the pumpkin. You may also want to add an extra stitch midway so that the leaf is more attached to the pumpkin.
Save/ screenshot the mini pumpkin crochet pattern here!
If you’ve made this pattern let me know in the comments or by tagging me in a photo! I look forward to seeing it. Happy crocheting.

