This post may contain affiliate links This means that if you click and purchase, I may receive a small commission at no extra cost to you.
Funny story: When I first started crocheting, and I mean first scarf starting, I was doing the back loop only ribbing accidentally and couldn’t figure out why my crochet had ribbing to it.
Moral of the funny story is that back loop only crochet is extremely easy to achieve. You could essentially be doing it and not realizing until you see ridges in your work.
This technique is widely used for easy ribbing in crochet.
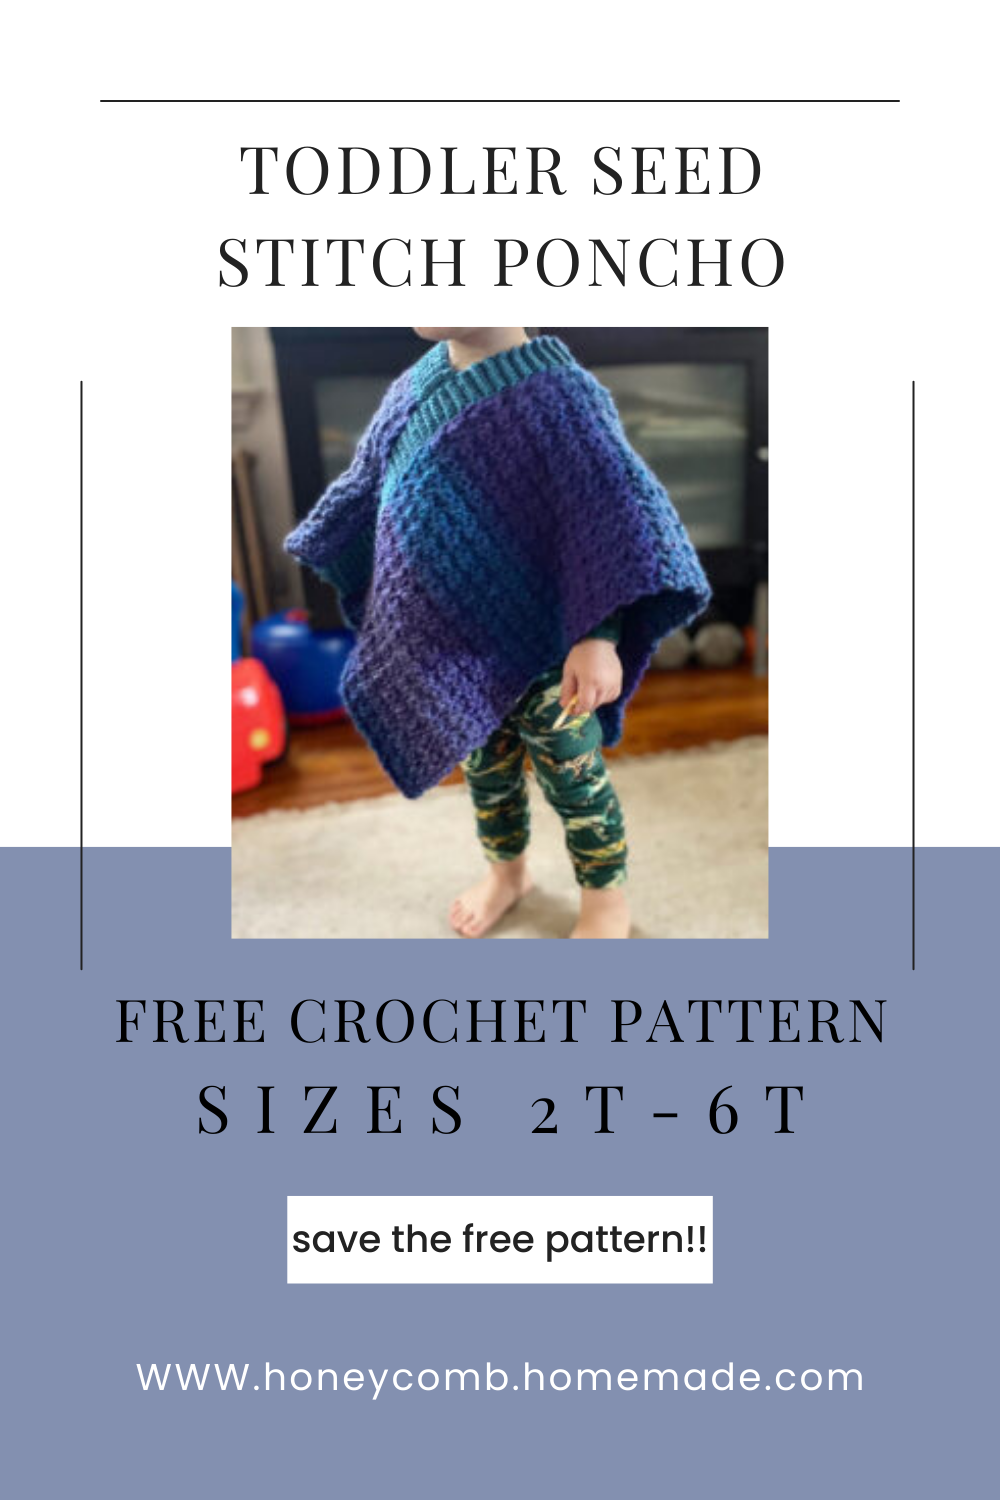
Whether it be hats, or my patterns, the crochet pumpkin or my easy toddler poncho.
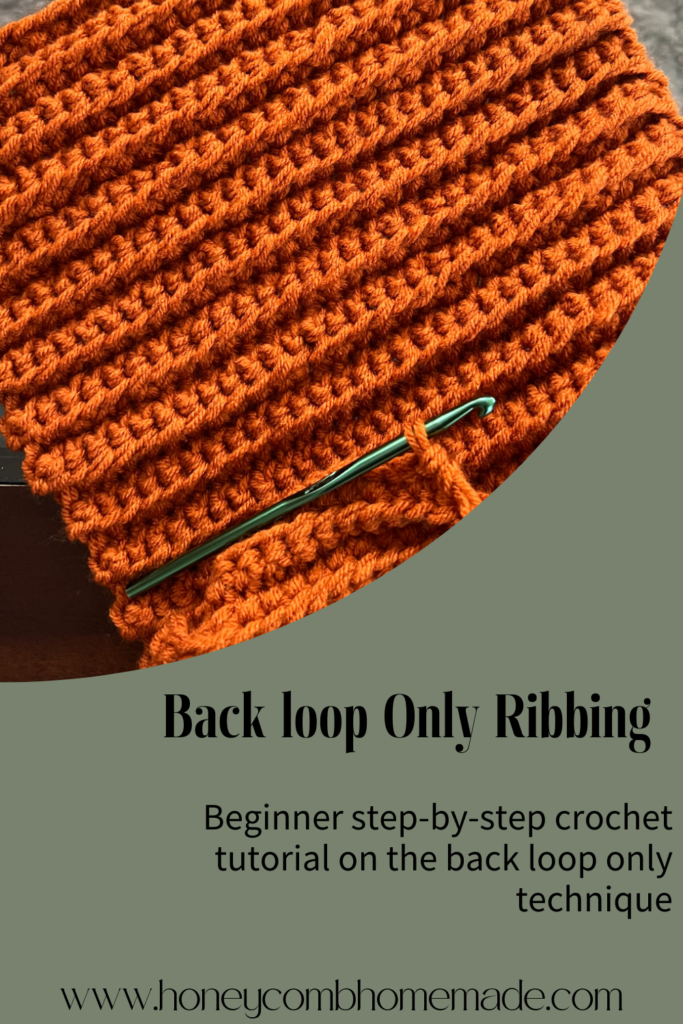
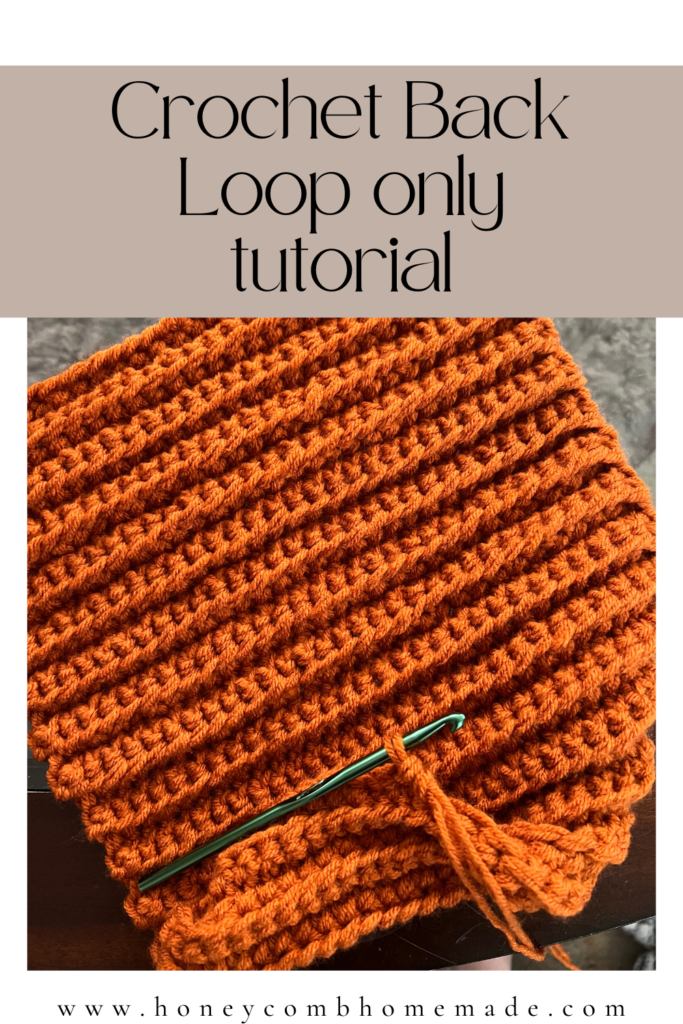
The ribbing looks like this when you have done a few rows of it. I love counting rows while doing this stitch because each ridge is 2 rows! Makes for super easy counting and never having to lose your place.
Materials
Grab a crochet hook and let’s get started! I recommend a 4-5.5 mm hook for testing.
Yarn! Medium weight 4 yarn is good to start out with beginner techniques like this one. My favorite acrylic yarn is I love this yarn from hobby lobby. I’m using the color burnt pumpkin for this tutorial.
Check out this *affiliate link* crochet set with everything you could need to get started. Crochet hooks, stitch markers, and tapestry needles.
Abbreviation
The abbreviation commonly used in patterns mine included is Blo when referring to back loop only.
How to achieve the back loop only crochet ribbing
Step 1: Make a crochet foundation chain. This does not require any specific set of even/ odd multiples.
Step 2: Single crochet in the second chain from the hook and across.
Now let’s look at what our stitches look like. Don’t mind my project I’m showing you the technique I’m using but I’m way past the first row. This will look the same on your first row as well.
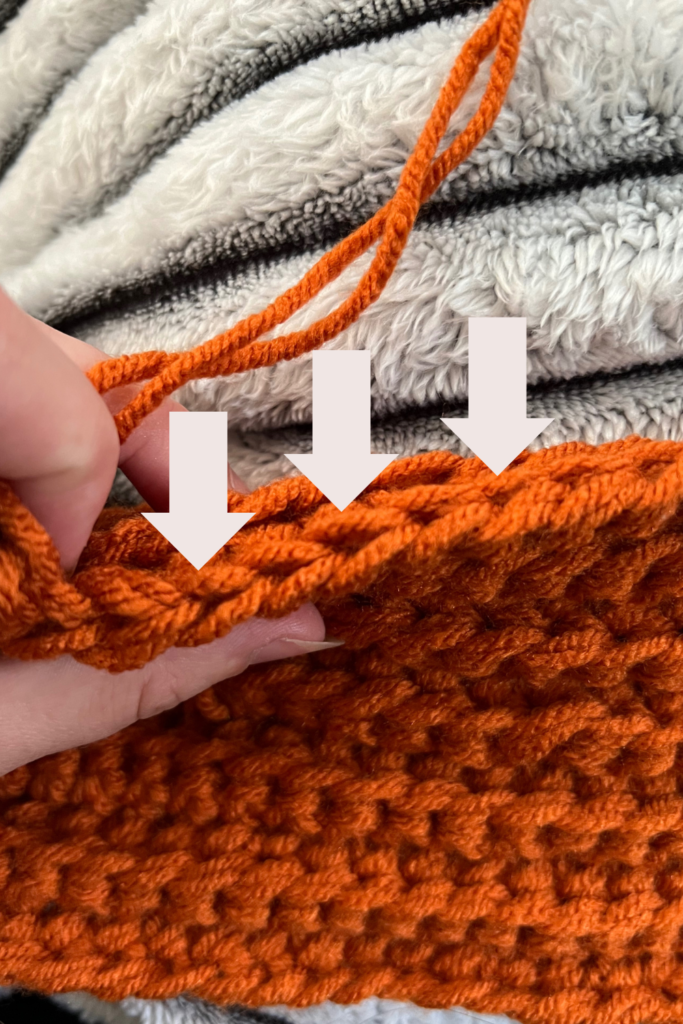
When you’re looking at your work you will be looking ABOVE at the stitches. Do you notice that from looking at it above, on the side the stitches look like a “V”. Or looking at it from above that one loop looks like its on top of the other.
Step 3: We are going to be working into that top, back loop only. Which is a really straight forward place where this back loop only stitch gets its name from.
From the second row onwards, you are just going to be placing your hook into the back loops only and doing a normal single crochet into it!
Similarly, in case you’re wondering, you can achieve the same affect by working in the front loops only as well.
So essentially the only difference to classic single crocheting and working in the back loops only is that you’re placing your hook into the back loop of the previous rows’ stitches only.
