This post may contain affiliate links This means that if you click and purchase, I may receive a small commission at no extra cost to you.
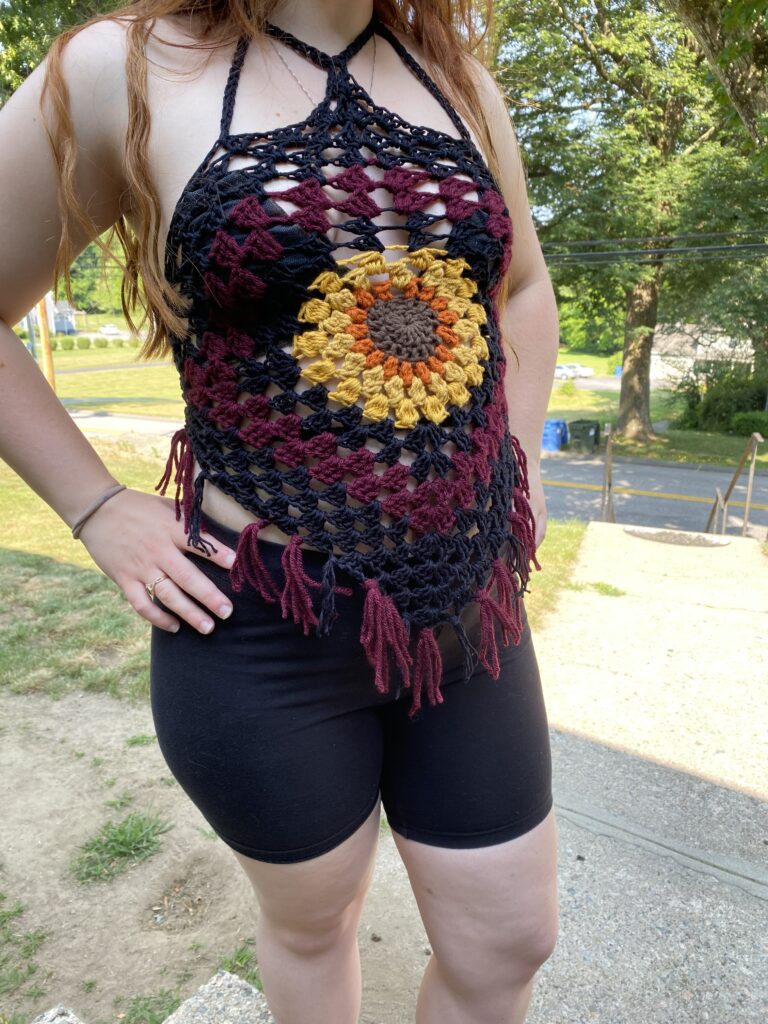
This is my first pattern! This shirt is made by making one very large granny square. I wanted this granny square to end up looking like a sunflower so that was my inspiration.
I like the way the neckline came out. At first, I had straps just hanging by the top, but I found that the weight of the granny square was bringing it down. The entire shirt needed a little more support.
The inside of this shirt has iron on interfacing to act as a makeshift “bra”. Most of the time for these itty-bitty shirts, they arn’t meant to be worn with a bra. But with granny squares they have holes all over them so built in coverage was a must.
I just measured around my own bra and then ironed them on!
If your new to granny squares check out my basic granny square tutorial!
Materials
I created a color pattern using a few balls of scrap yarn that I had laying around that I knew I wanted to use. I used all worsted weight yarn. But the yarn I used is all mixed and matched by brand and feel. You can use any worsted size 4 yarn.
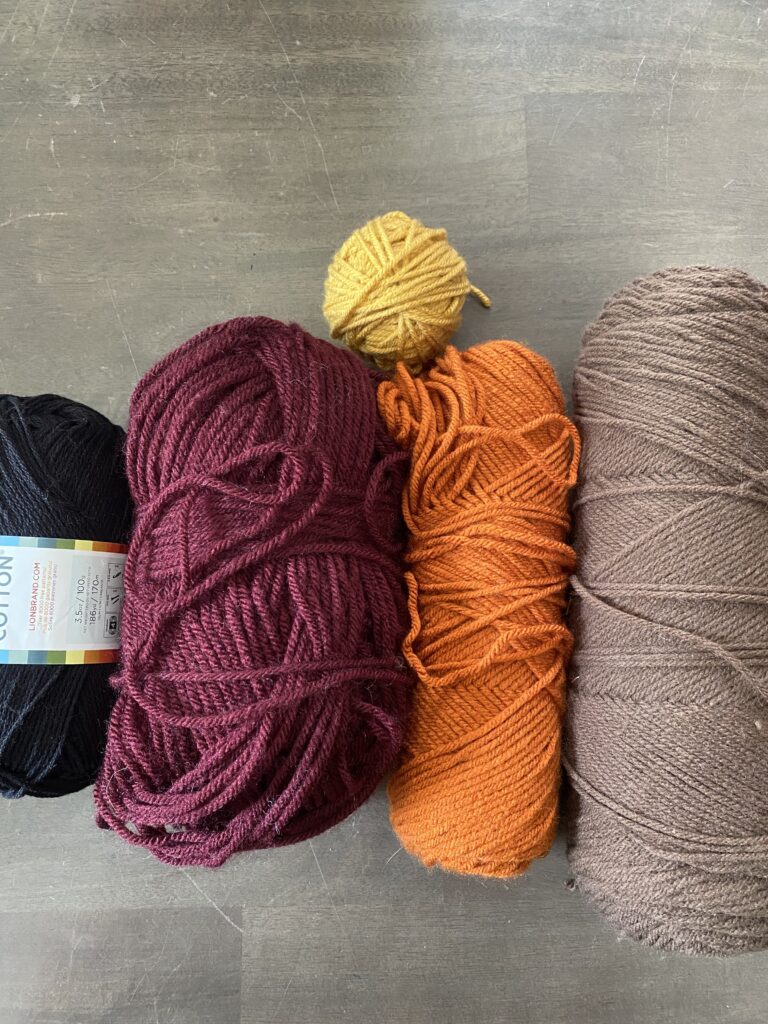
The brown that I used for the middle is red heart. It’s pretty scratchy and while I don’t like using it for clothing, since I didn’t have to use a lot of it but wanted the color present in the shirt it worked.
The black color that I used for most of the shirt is this lion brand 24/7 cotton yarn.
Overall, I didn’t need a lot of yarn at all for this shirt. I didn’t finish a single one of these skeins. If you’re looking for a good project to use up some scrap yarn I’d recommend this one!
You are going to need a size 5.5mm crochet hook. If you need any hook conversions make sure to check out my hook conversions post!
A tapestry needle like this one is always handy. I really like the curve on these ones for perfect seams!
Sizing
This pattern is completely adjustable depending on the amount of rows you do. I recommend putting it up against you while your working the pattern to get the right size for you.
I’m typically a size medium and this is the measurements of the shirt I made.
The back is lace up which also makes it adjustable. You can loosen it or pull it tight to fit your needs. The neck is halter, so this is adjustable as well.
The inside iron on facing is measured to fit your bra size.
Abbreviations
Ch: chain
Slst: Slip stitch
(…)*number: Repeat for a certain number of times.
[Number of stitches per row]
Dc*cluster or Dc*together into the same stitch. Just keep the last loop on the hook, go into the stitch again and make another double crochet. It should look like a single stitch no matter how many in the end.
Dc: Double crochet
Sc: Single crochet
Inc: Increase. For the purpose of this pattern increase means 2 dc in the same stitch.
The pattern
My inspiration for this pattern was a sunflower. I started small in the middle and kept making the stitches bigger and bigger as I increased in rounds.
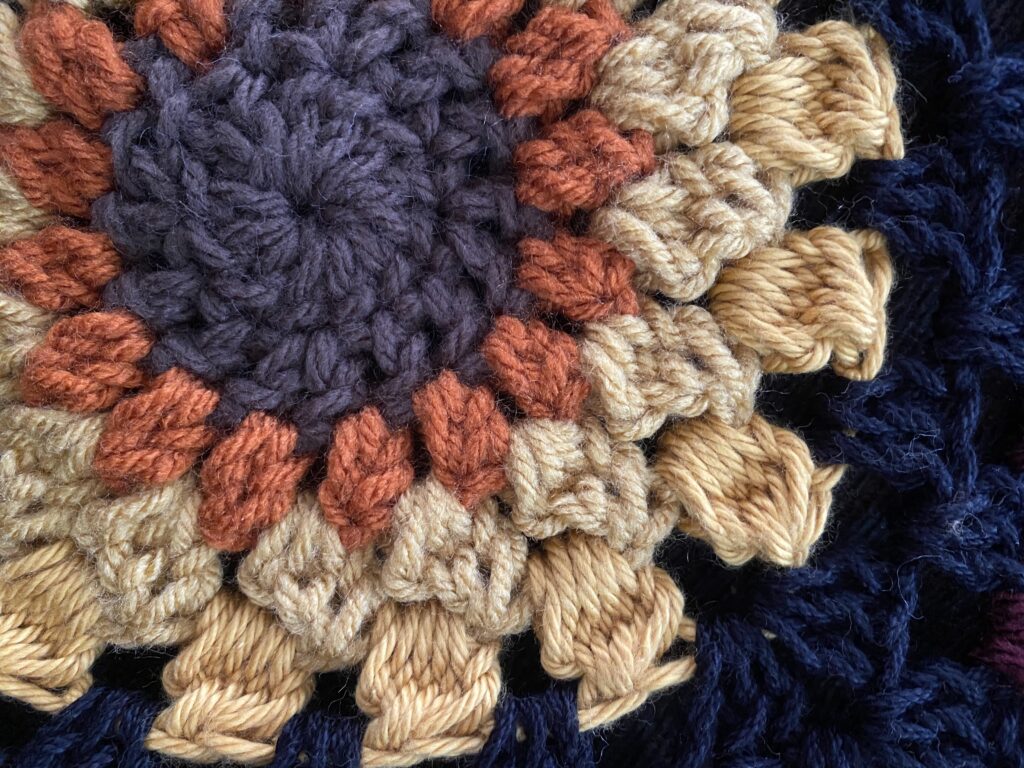
***When you are working in the round for row 1-5 the first stitch is going to be a ch2. This is counted as a dc. If the pattern says dc2 or dc3, just do one less in that first stitch****
In the round: The flower pattern
Row 1: Foundation ring of 4 chains. slip stitch into the first chain creating a ring.
Row 2: Ch 2, Dc 11 into the ring. sl st into the ch2.
Row 3: (Dc, Inc)*6 [16]
Row4: Now were changing color. In my photo its orange. (dc2tog into the same stitch, ch1)*16 In each stitch of the previous row there should be 2Dc. We are not skipping a stitch when we ch1. [32]
Row5: Another color change. In my photo the lighter yellow. (Dc3cluster, ch1)*16 [32]
Row6: Color change to the bright yellow. (Dc5cluster into the same stitch, ch1)*16 [32]
*****Row 7 starts in the next section******
Forming the square
This part took a little bit of math, but you can do this process with any shape you want.
Since we did 16 Dc5 clusters and ch1 spaces. We have a total of 32 stiches.
You can divide the number of stitches you have by 4 to get the 4 corners of the square. For us that number is 8 stitches. So, every 8 stitches we make a corner.
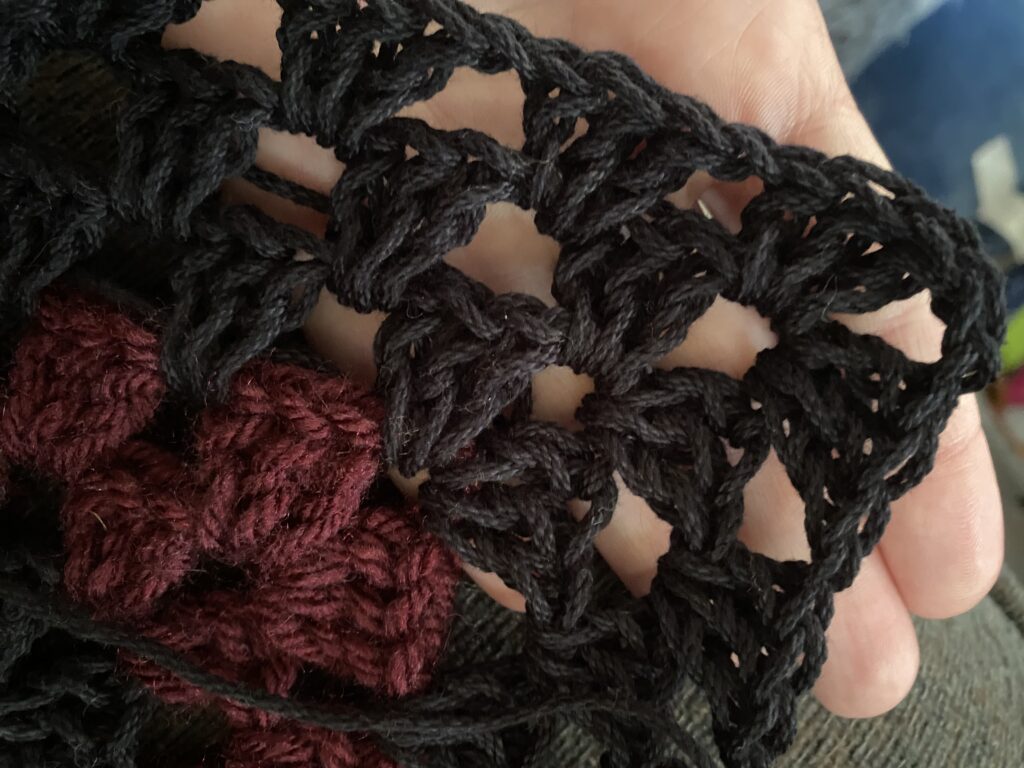
The basic granny square pattern is (Dc3 ch1) until the corner (Dc3, ch3, dc3) into the corner stitch.
Row 7: Dc 3 into the previous rows ch1 space. This is what we will be doing for every stitch. ch1. (dc3 ch1) 2 more times. You should have 3 double crochet clusters and ch1 spaces. We are making this next stitch a corner so you will put 3dc, ch3, 3dc, ch1 into that stitch.
Do the same thing all the way around. After that first corner ch1 (dc3, ch1) *3 (3dc, ch3, 3dc ch1) as your corner. Remember to chain 1 at the end of the corner!
When you have 4 corners you will meet and have to do a ch1 and sl st at the top of the first dc of the row.
Row 8 (and beyond): Now you are building width, and you can grow this however long you need it to be to fit you.
The ongoing pattern is the same as in my classic granny square post.
(3dc, ch1)*until you reach a corner
(3dc, ch3, 3dc, ch1) in the corner
The neckline
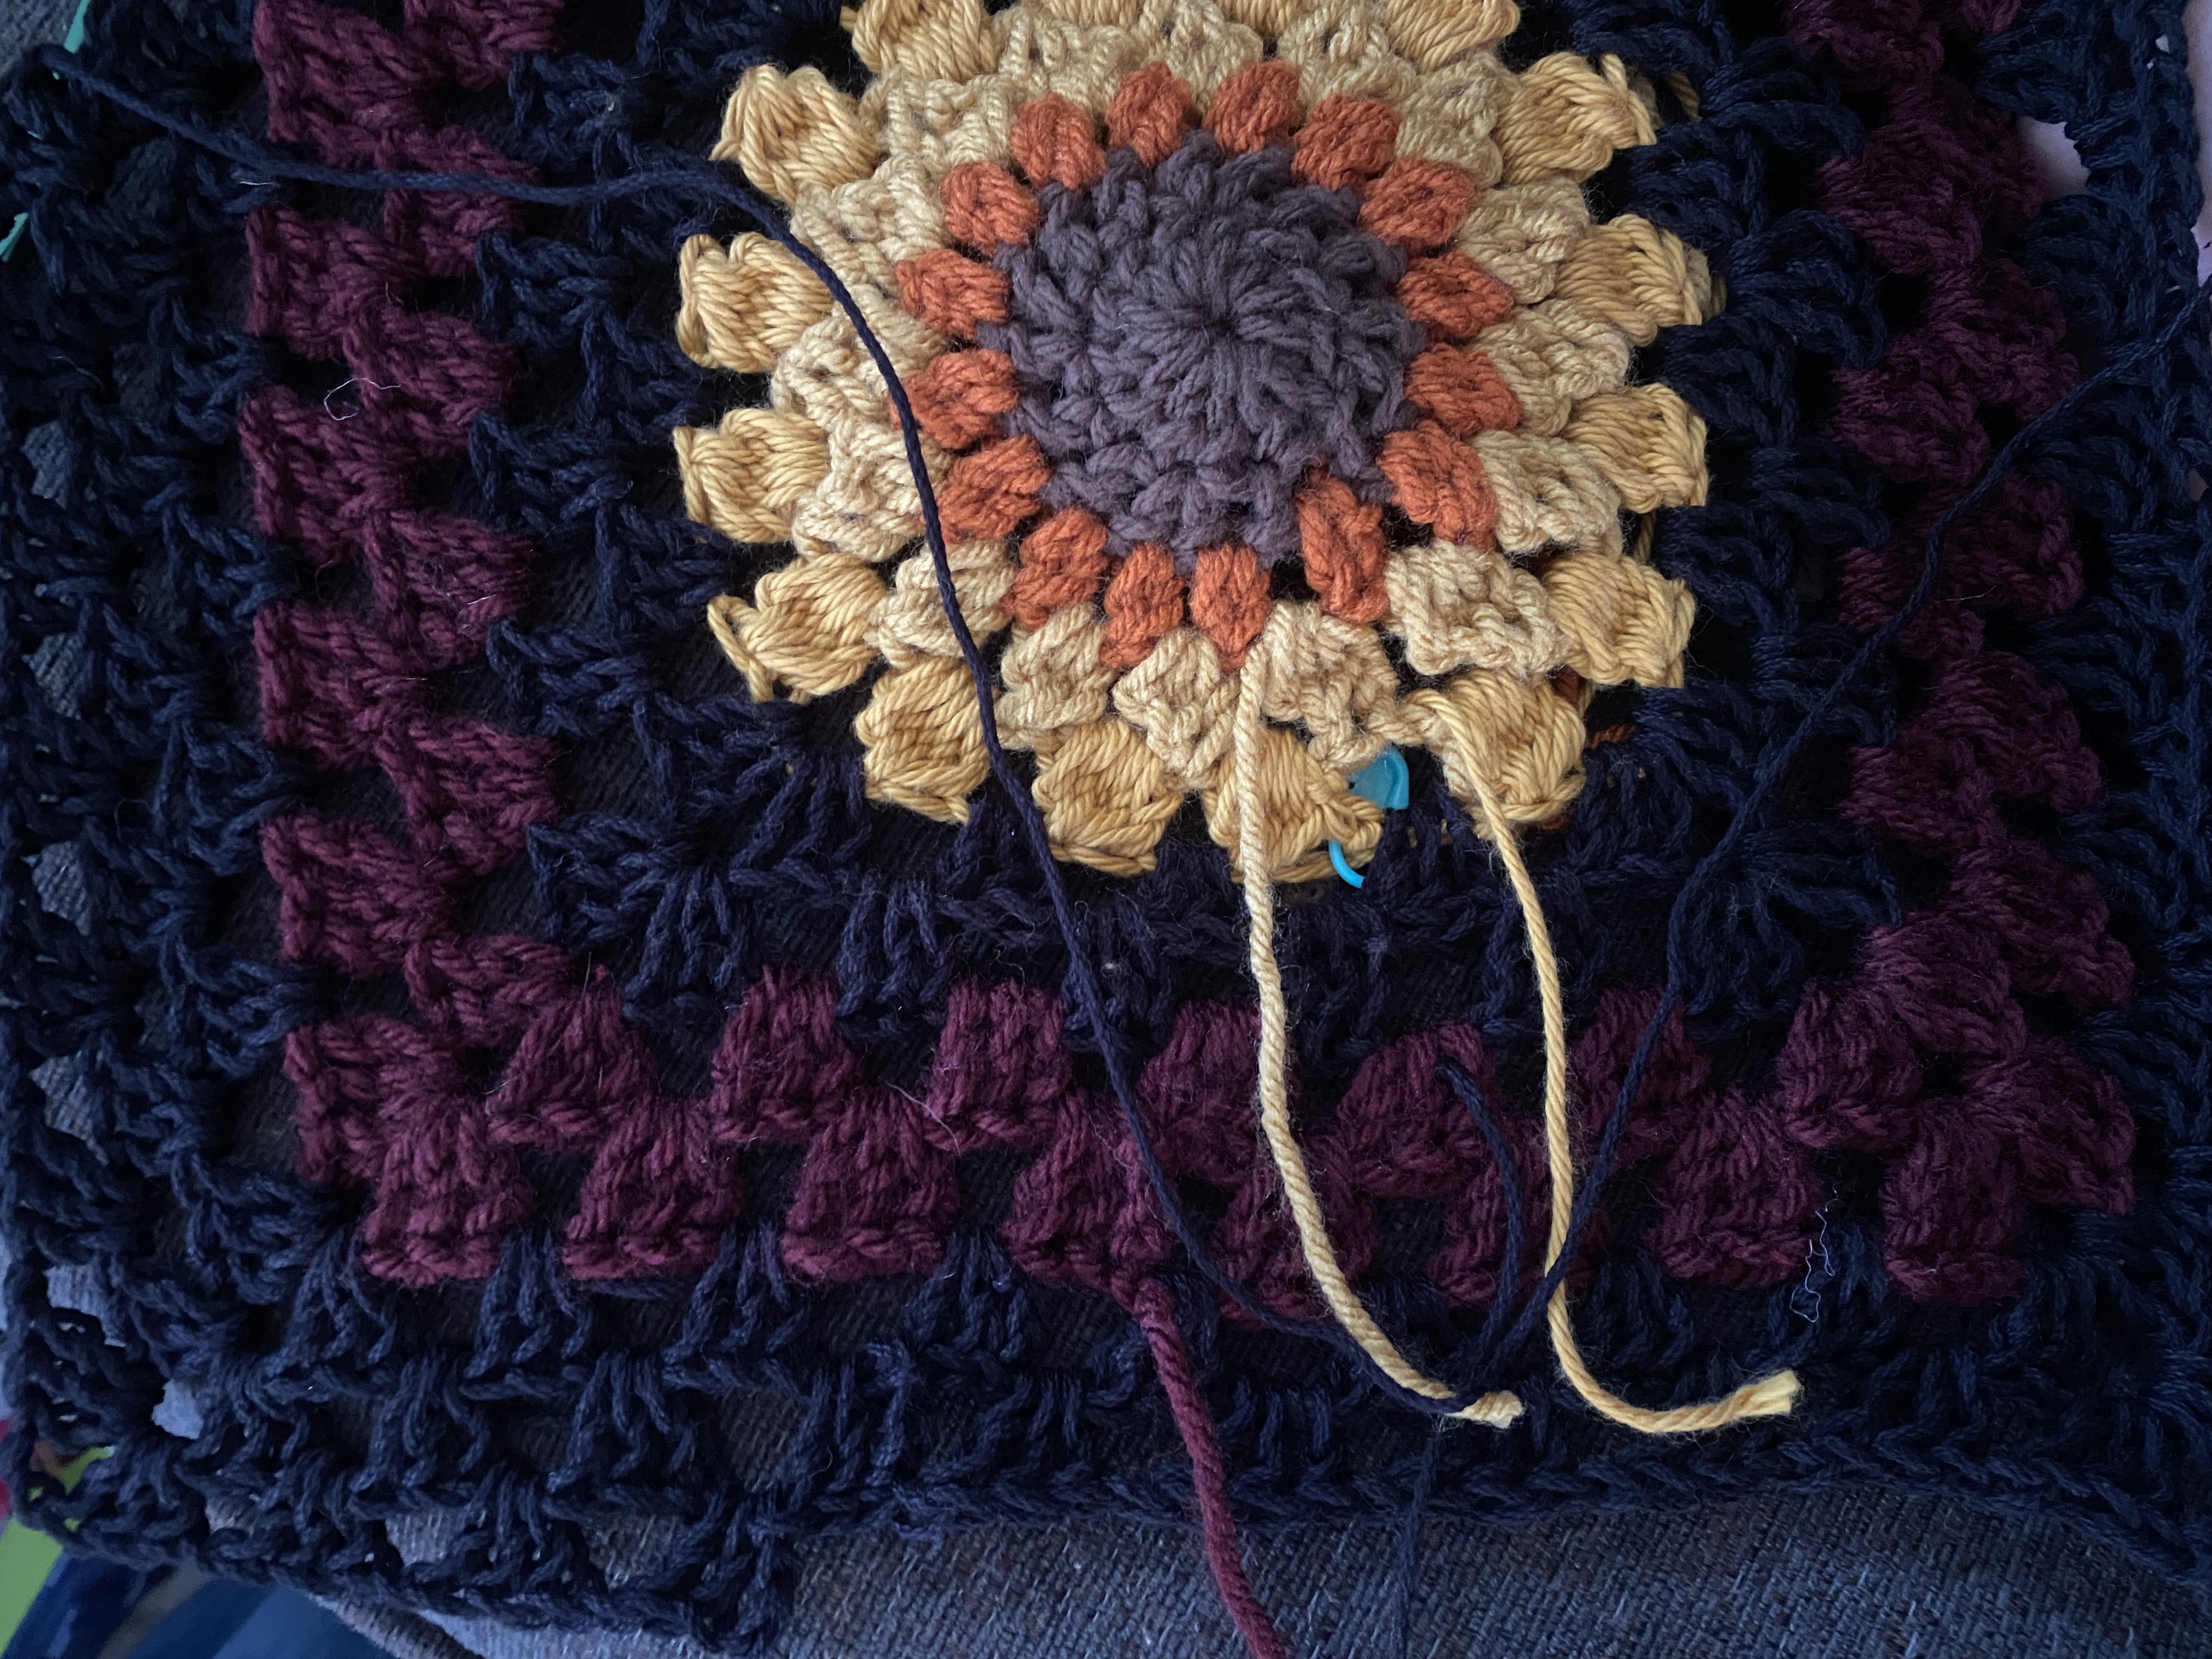
The neckline was the hardest part of this shirt to get right. I made a long chain (you can adjust how many) but around 50-80. I sc 4 into the top corner of the square. At this point you will have to choose which side will be the top/ bottom / and so forth. Next I chained the same amount as I made on the other side.
To make it sturdier turn and Sc the whole thing on both sides.
At this point the neckline can hang but it’s too heavy in my opinion, so I made the side pieces off of the neckline.
Attach your yarn into the 5th chain space from the middle.
Chain 15.
slip stitch into the 8th single crochet from the middle. single crochet down the chain 15 strap.
Do this on both sides.
Lacing up the back
I just made a really, dramatically long chain to lace up the back. I laced it through the granny square openings corset style down the back.
Interfacing
I used a black iron on interfacing for this project. This step is completely optional I just didn’t want to have to wear a bra under this shirt.
I used something I found at Joan’s fabric store. Similar to this. You’re looking for it to say “fusible”.
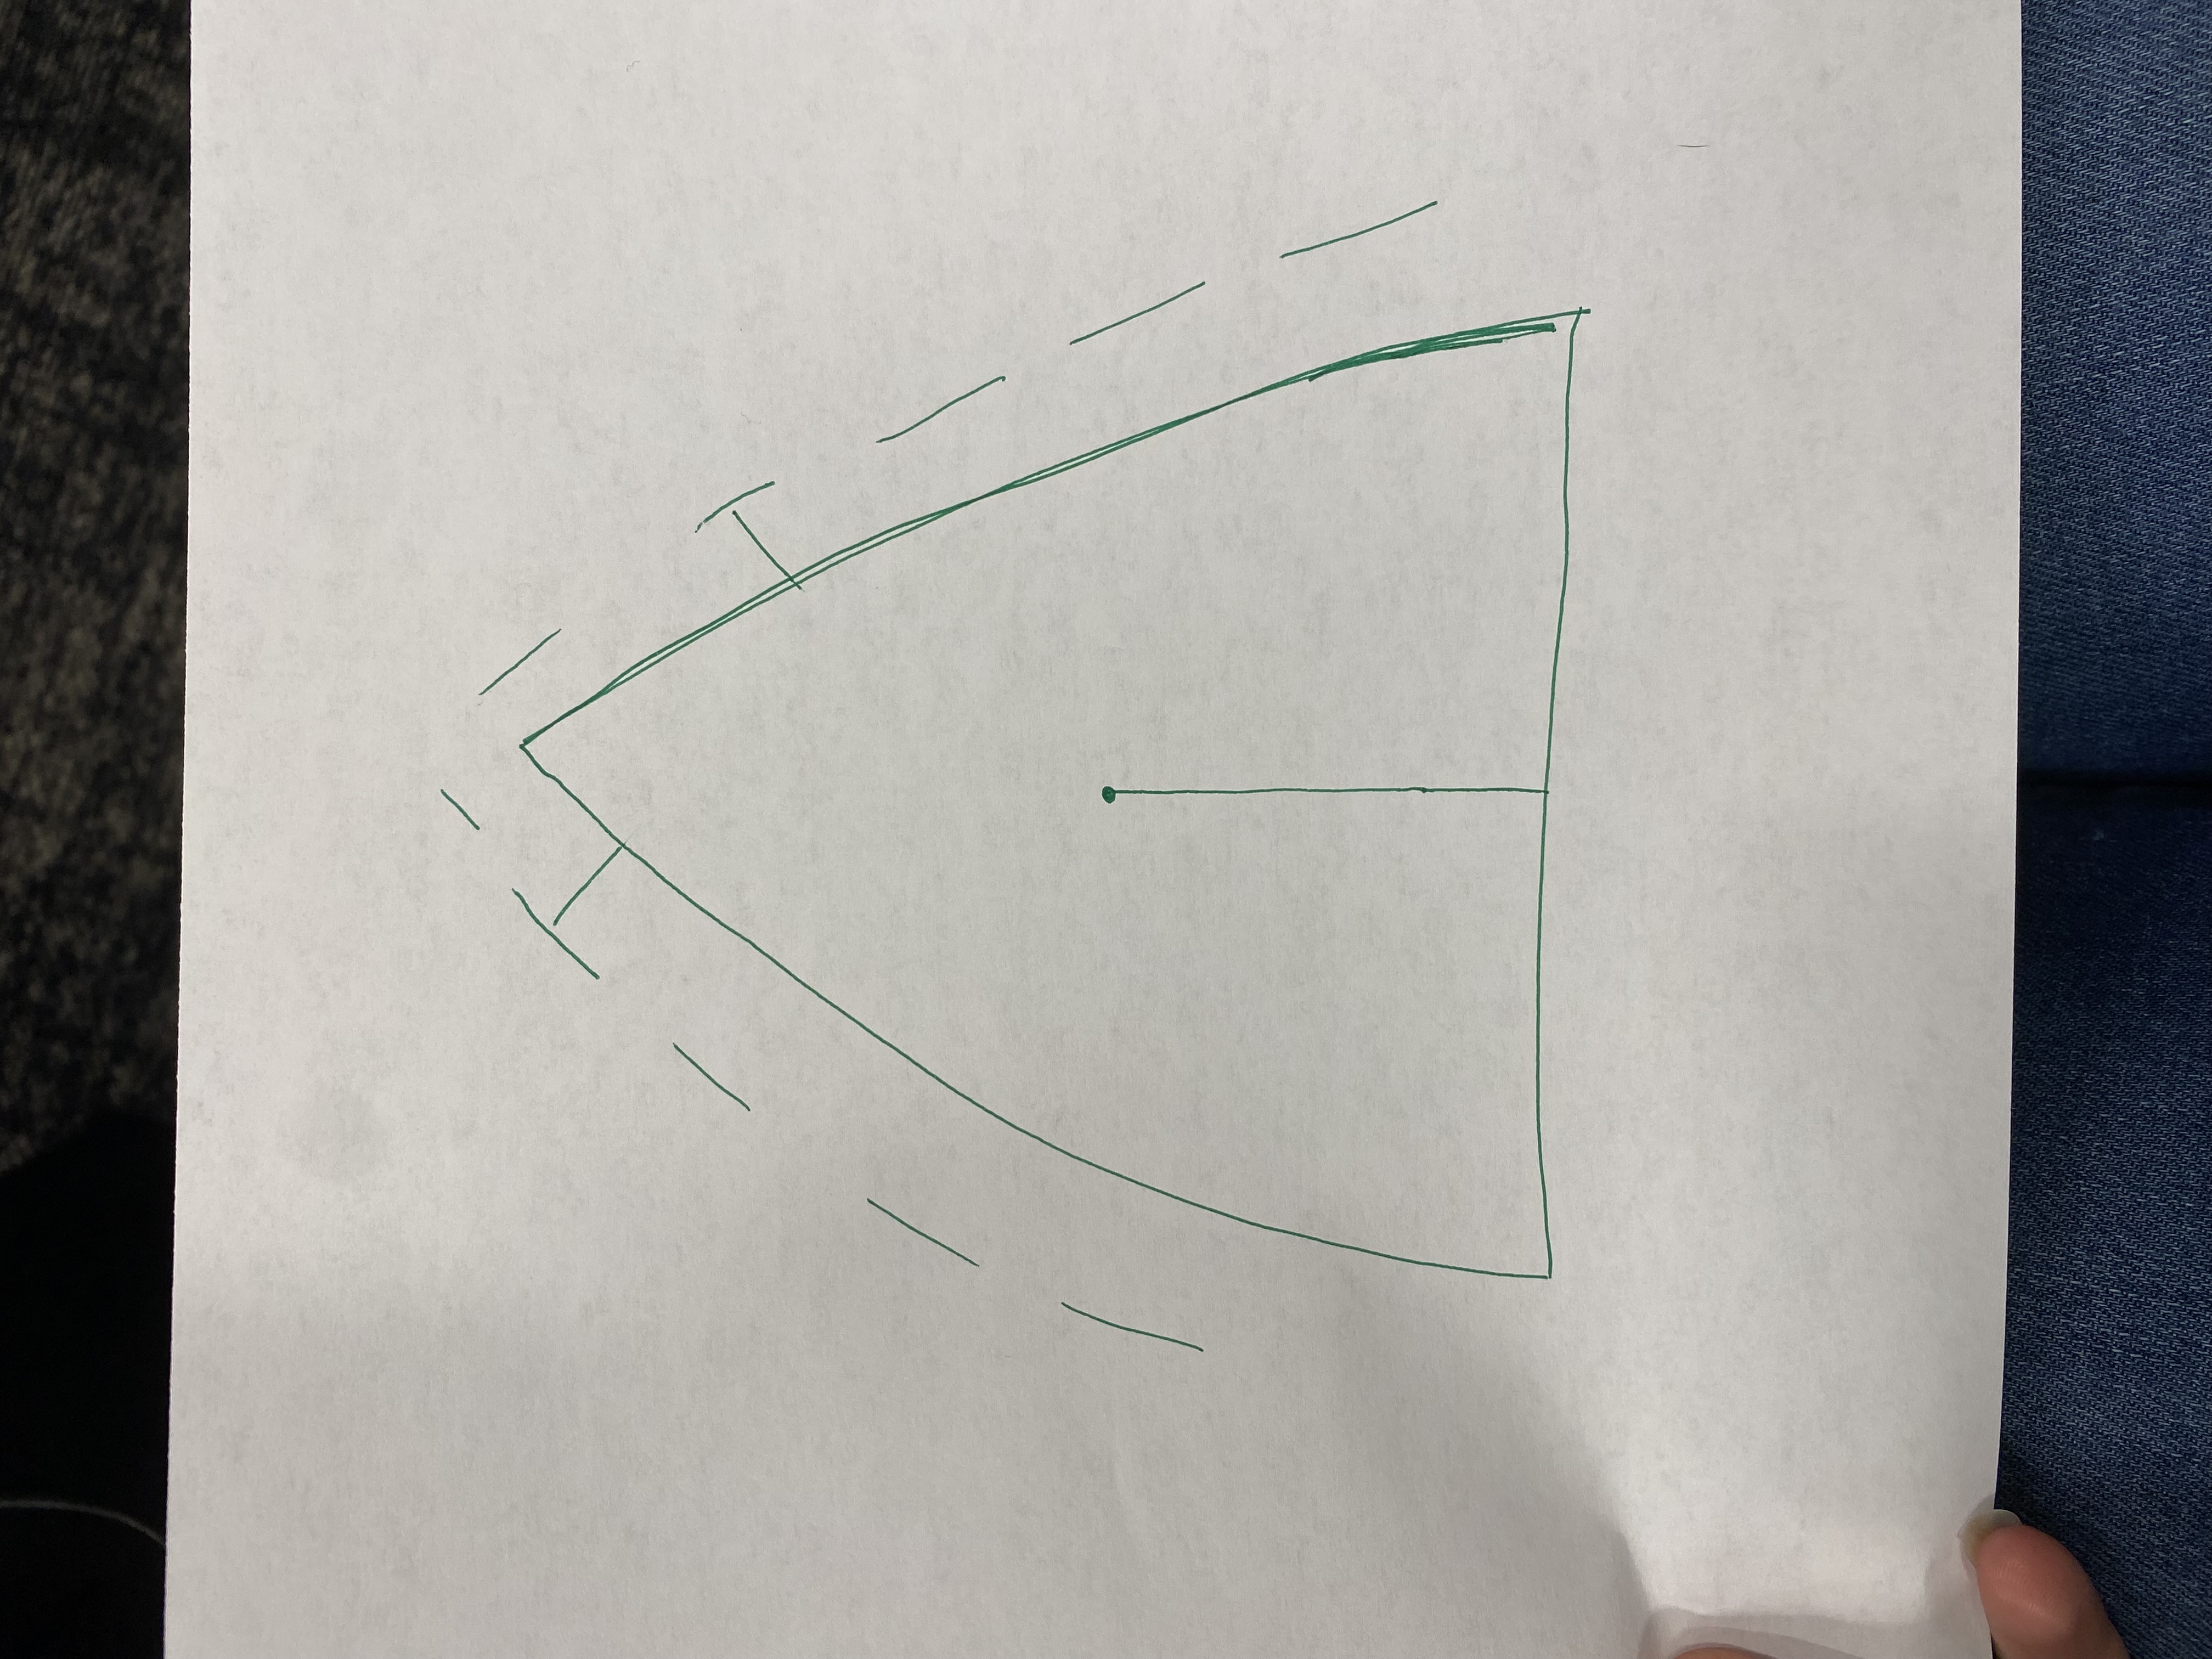
You just measure from the bottom to the middle of your boob and measure. I made sure to give it an extra inch or so because you want full coverage when you move around.
Just cut and iron! be cautious to iron on the yarn. Some yarns will melt if its too hot so always go on a lower setting for this and do a test piece!
Tassels
I think tassels are a fun way to finish up some crochet items. This is completely optional.
I took 3 strands of yarn of the same length. Make them double what you want the tassel length to be because they will be folded.
Now just attach it to the bottom. The holes are already there for you to attach them.
I hope you enjoyed the pattern. If you created this, post a photo or tag me on Instagram, I’d love to see it!
Happy crocheting!
