This post may contain affiliate links This means that if you click and purchase, I may receive a small commission at no extra cost to you.
One of the first things a new crocheter typically learns how to make is a simple granny square pattern. With good reason. These squares teach you many skills that a lot of other projects require like working in the round, making a foundation ring/ magic loop, and probably most importantly it gives lots of tension practice.
If you’ve been on social media for a while you may have seen variations of granny squares. And theres LOTS of really awesome crochet granny square patterns but first you need to learn the basics.
Don’t worry. These arn’t boring to make and it gets addicting. It’s surprising just how many things you can make by piecing these squares together in different arrangements.
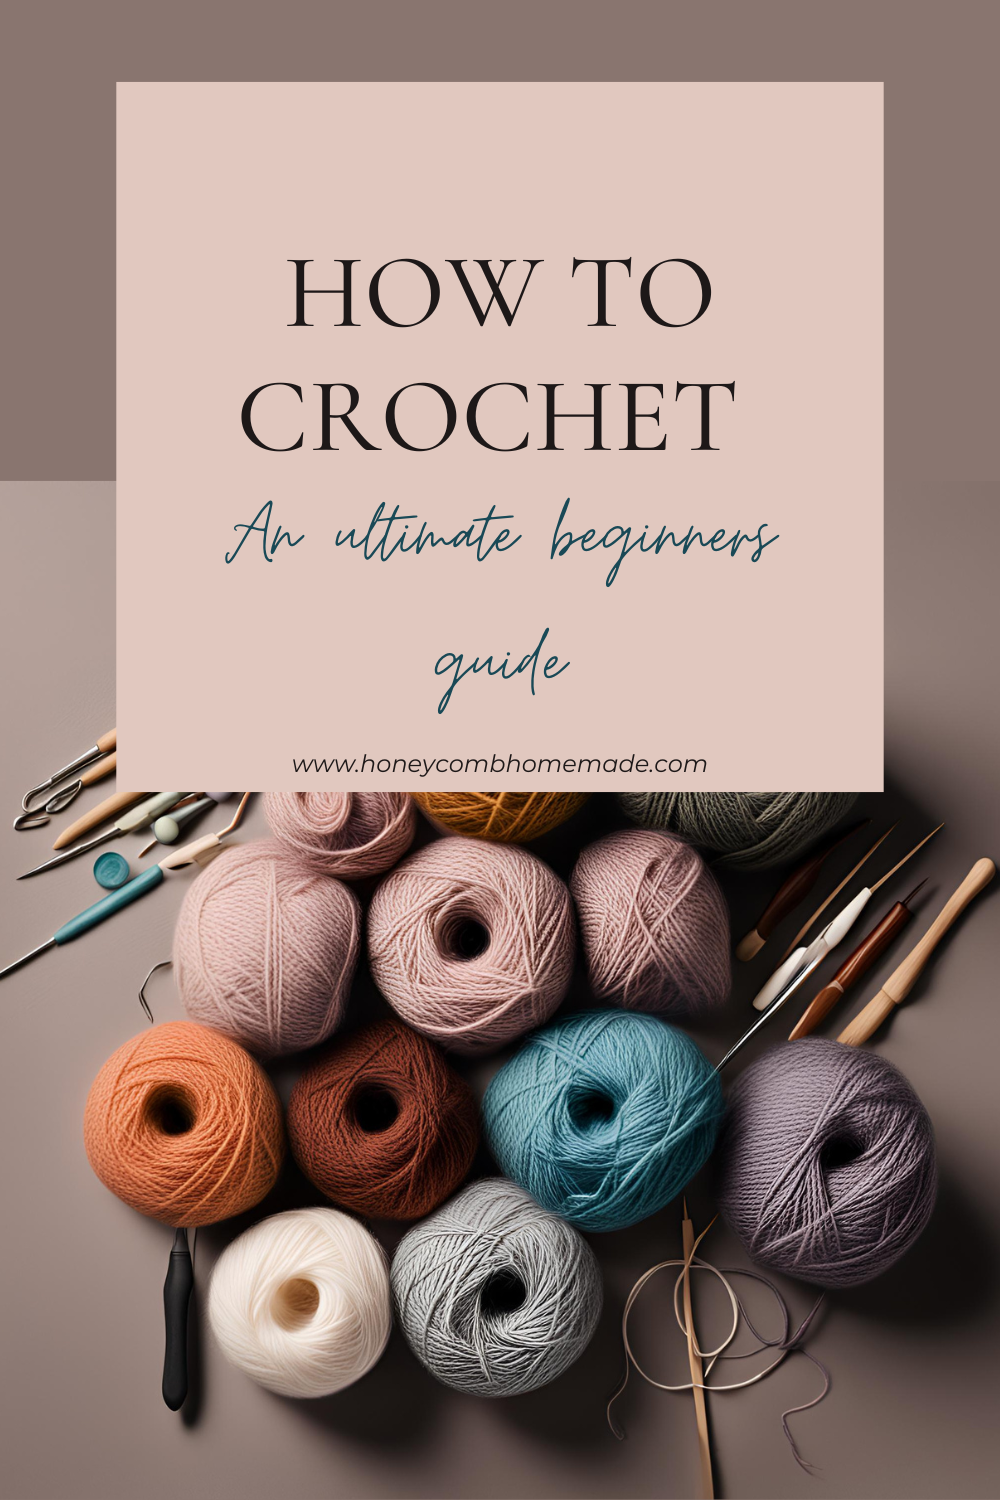
If your a super beginner to crocheting or just need some reminders of the basics make sure to check out my How to crochet for beginners, and beginner stitches.
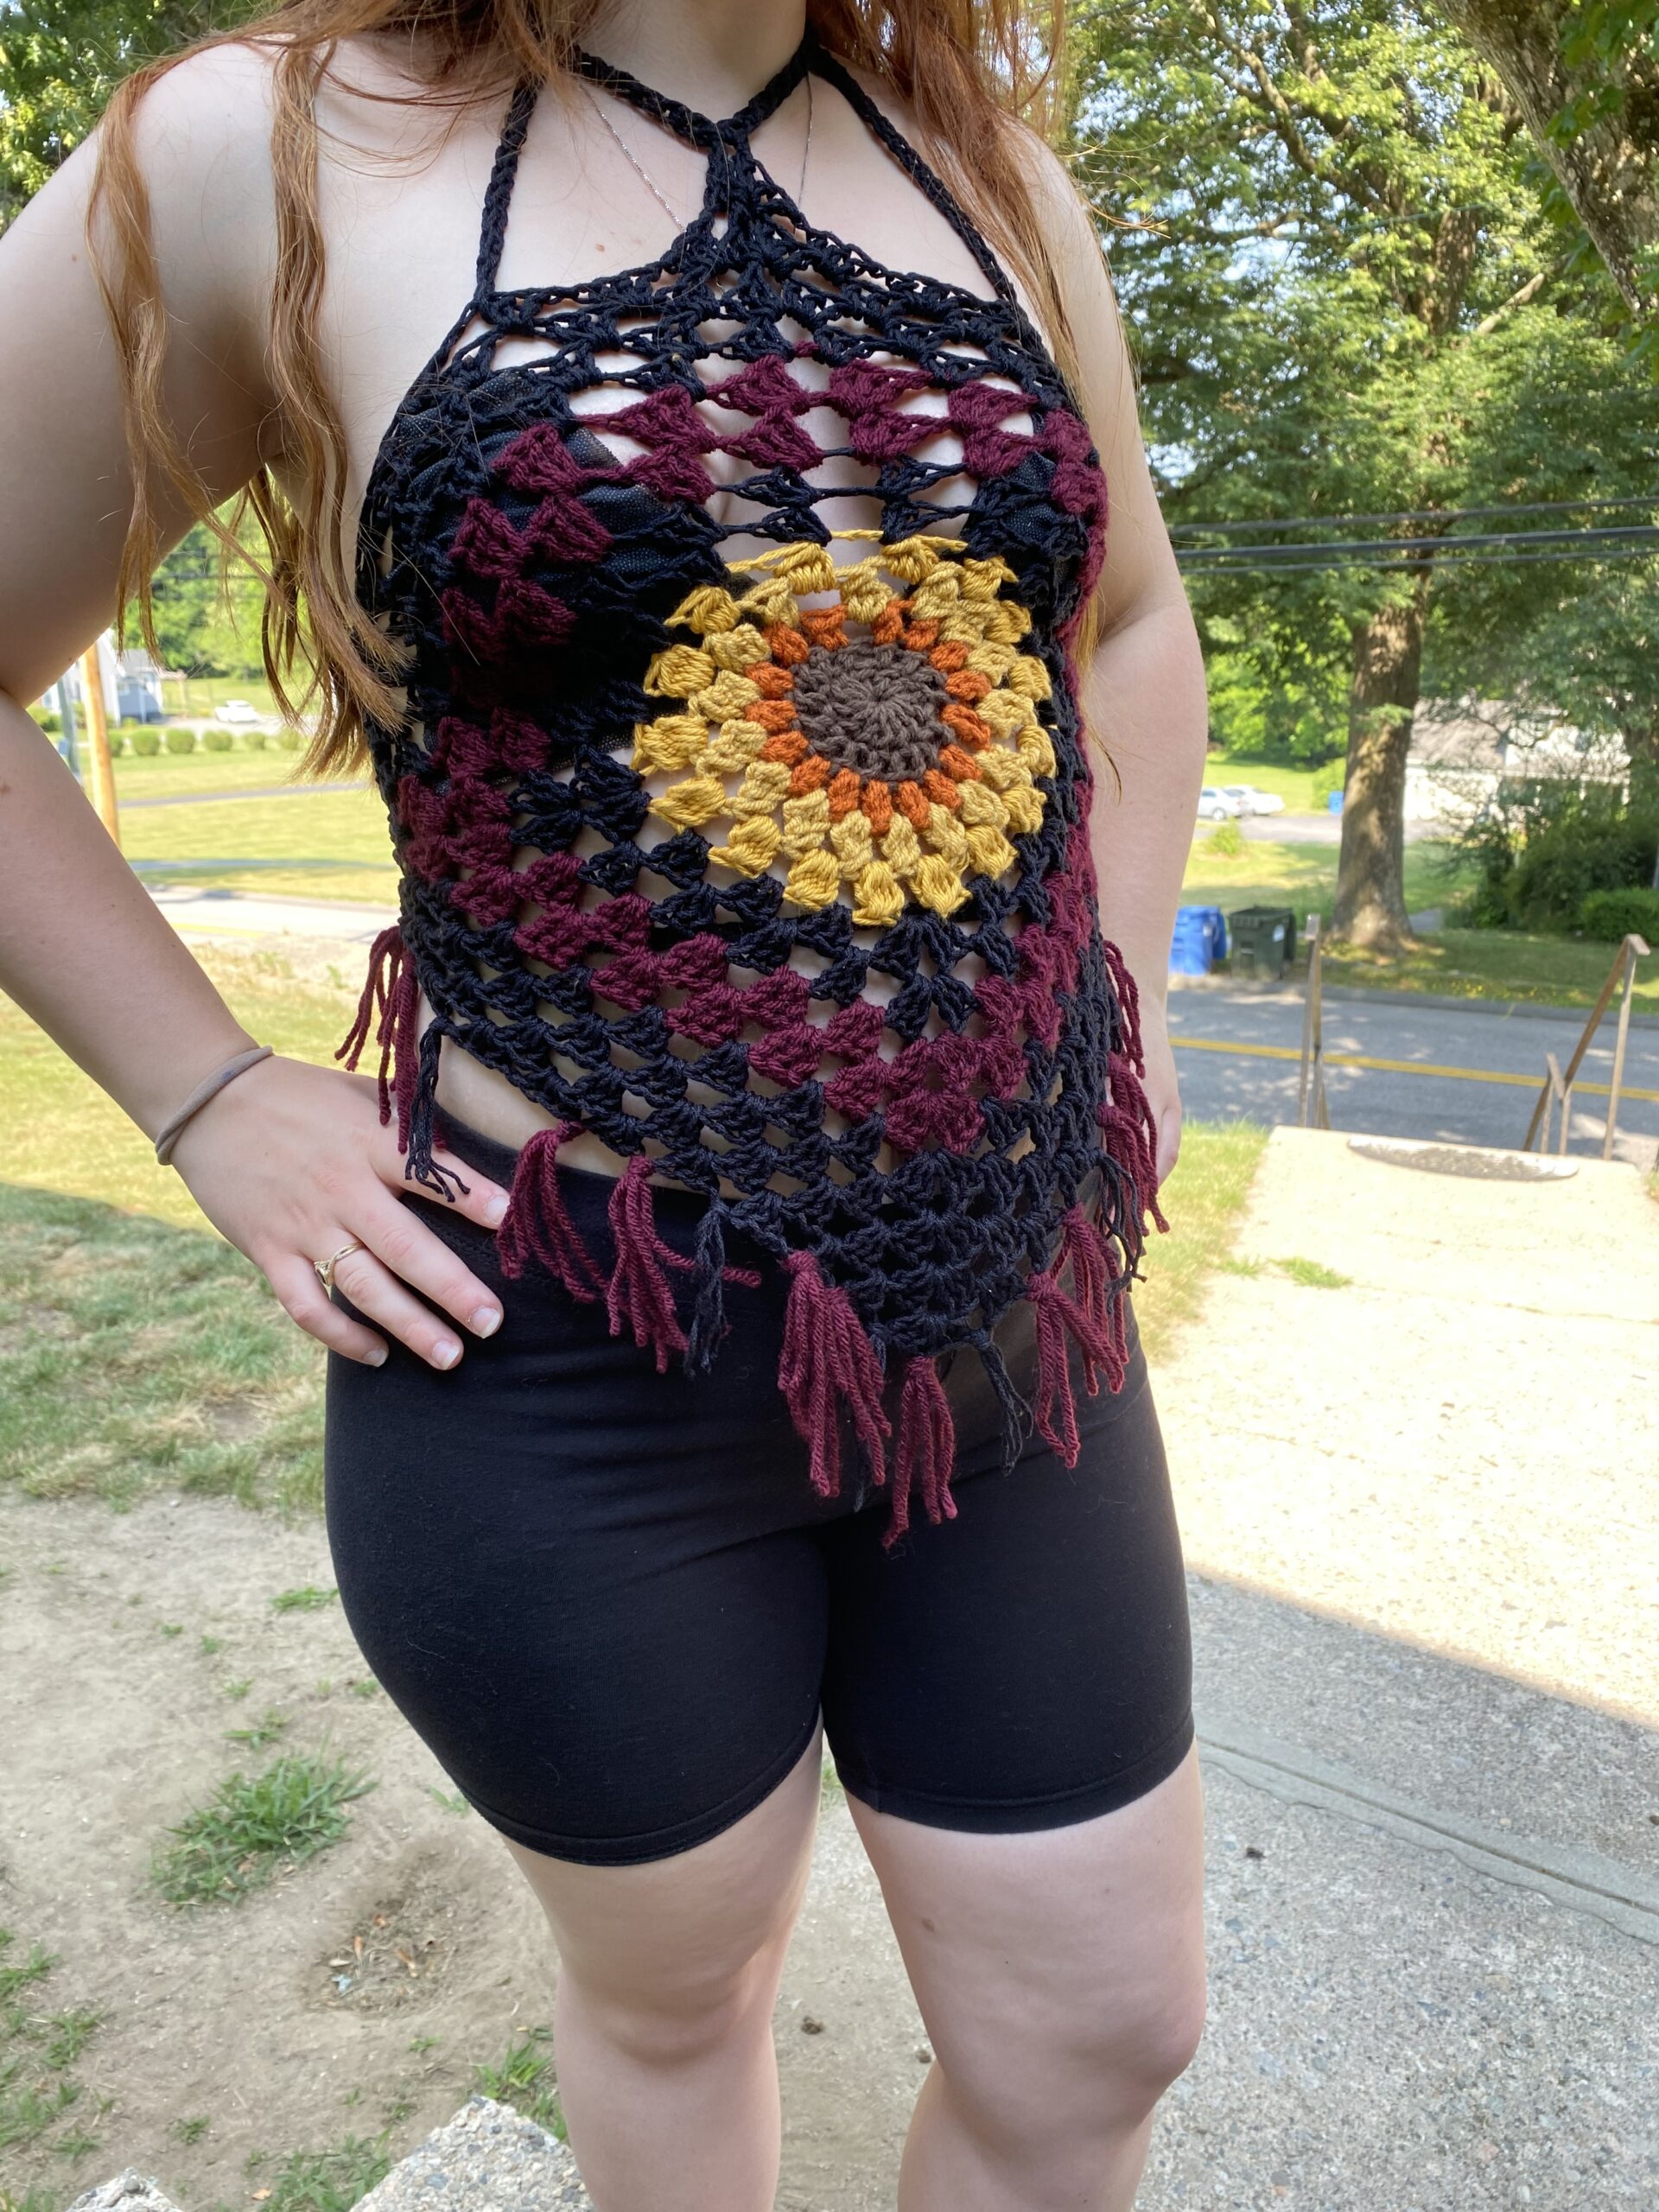
For these crochet granny squares I used this yarn from hobby lobby! I used the colors mustard and pumpkin.
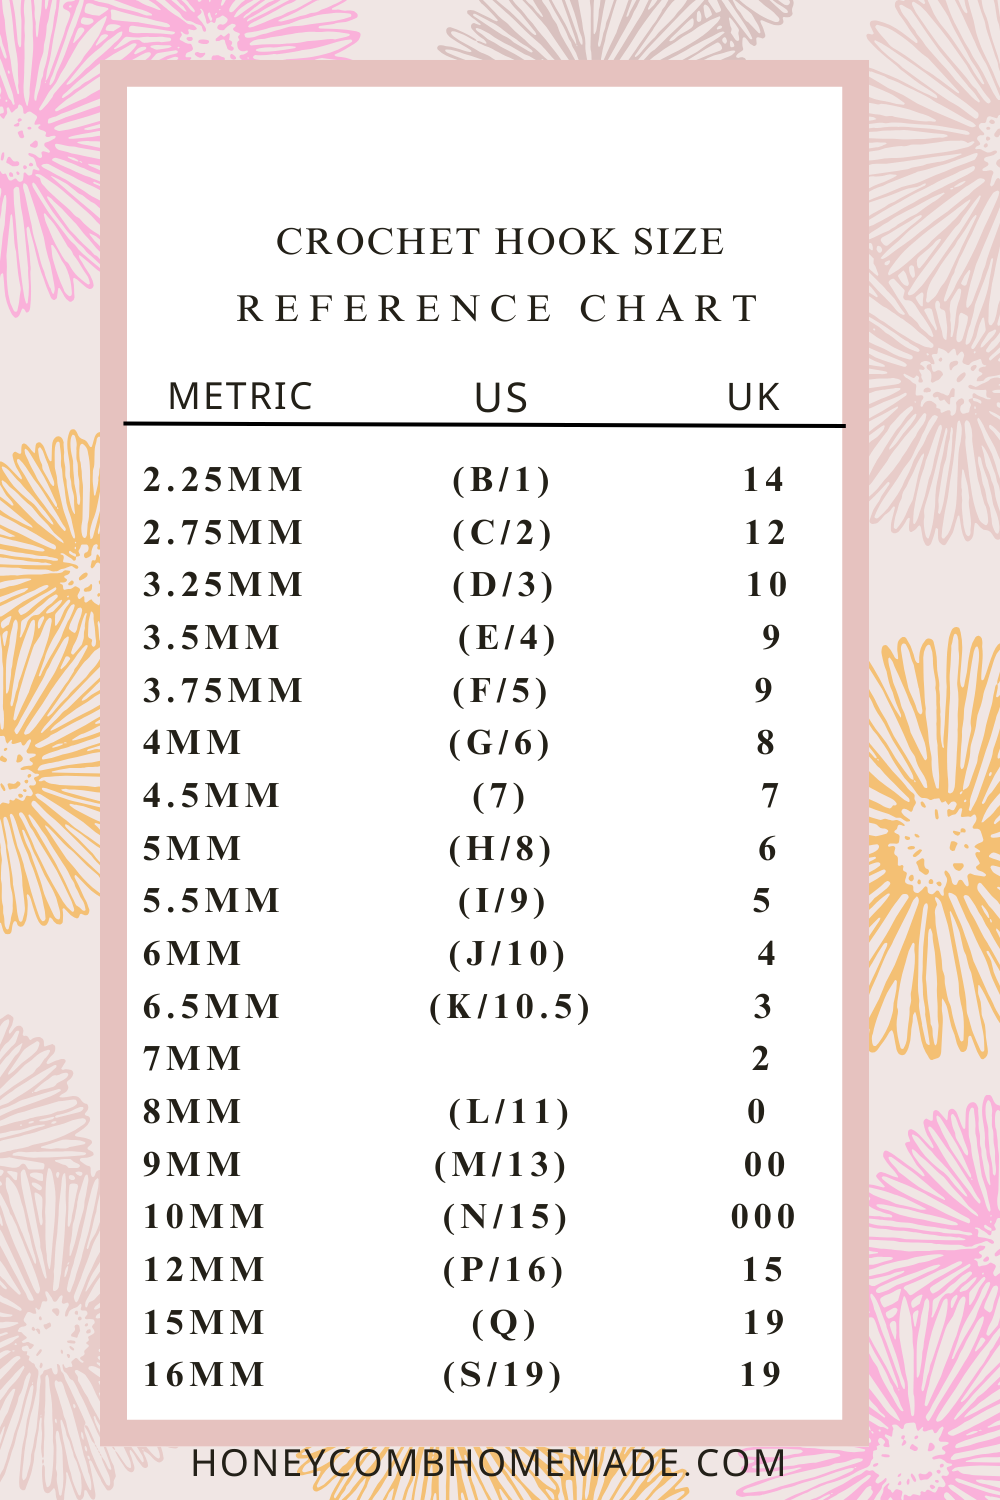
So grab a hook and let’s get crocheting
Your foundation ring
first your gonna make a foundation chain of 4-8. I typically do 4 or 5. You can make a magic loop instead if that is your preferred method. Make sure you don’t pull it tight just yet until were done with the next step.

Once you have made your ring you will chain 3.

The first row
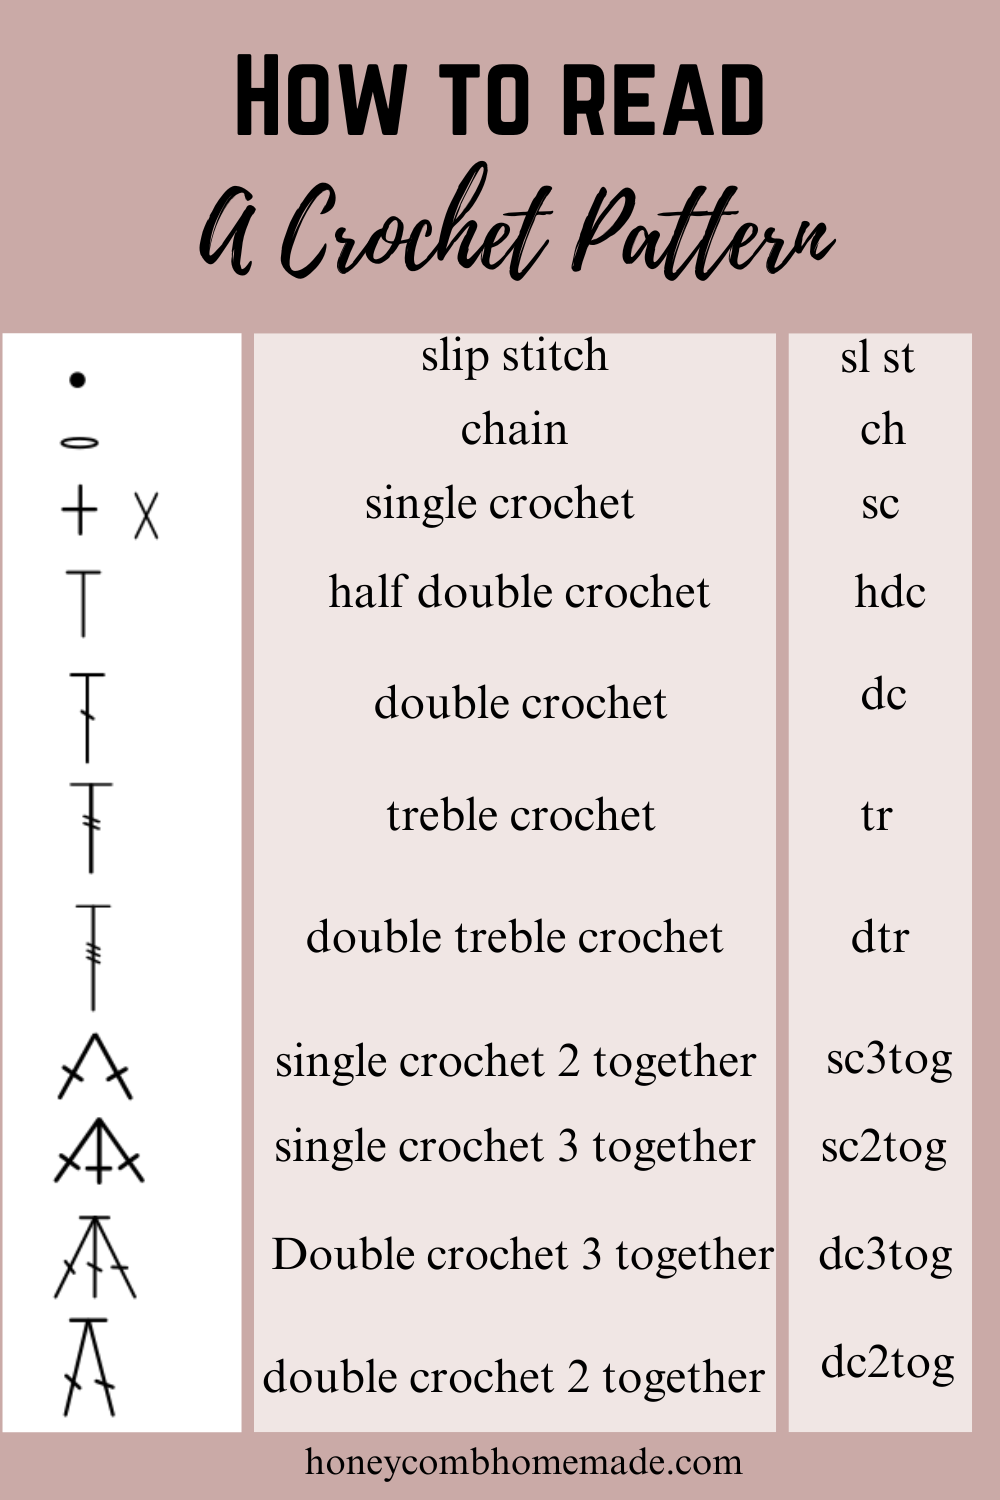
Now you have your ring and chain 3 you are going to double crochet 2 times in the ring. Your initial chain counts as a double crochet.
Next chain 3 and 3 double crochet. You will do this until you have 4 clusters of double crochets. For the 4 corners of your soon to be granny square. The chain 3 allows us to have really sharp corners.

As you can tell it looks a little strange because your not finished with the row. You need to finish the last corner by chaining 3 and slip stitching into the initial chain 3 that you made.

Voila! congrats if you’ve made it this far you have it down now! We pretty much do the same thing until our granny square is the size we want.
Row two
Now were off to row 2 where we are just focusing on making our granny square bigger. The very first step is chaining 3. Since we are working in the round there is no reason to turn.
Next you will put 2 double crochet in the corner hole. This part always looked a little strange to me because it felt like I was backtracking since the chain 2 seemed to be connected to the stitch after the corner hole. When you actually do it however it ends up looking right and being right.


Next you are going to chain one and double crochet 3, chain 3, double crochet 3 into that next corner stitch.
following the same pattern of *chain one. dc 3, ch3, dc 3* all the way around until you are back to where you started.
Similarly to the last row you need to finish the corner you started on and place a 3dc cluster chain 3 and then slip stitch into the first double crochet (the chain 3) of the row.
The continuing pattern


For continuing your granny square you just need to remember to chain 3 Dc 2 in the starting corner. *Dc 3, Ch 3, Dc 3* in each corner. *Ch 1, Dc 3 Ch1* for everything that isn’t a corner. Dc 3, Ch3 and slip stitch into the beginning chain of each row.
You can keep going and make this as big as you want!
Changing colors
Changing colors is quite simple you just create a slip knot. and attach it to the corner by slip stitching into the corner. And start the row like you normally would.
Chain 3 but with the new color.


Attached with a slip stitch and chain 3 in the corner.


Continuing the pattern as normal!

Sewing together your granny squares
I like to use a slightly curved needle to weave in my ends and to seem the sides of all my crochet work. I used to struggle with making my work look more complete and professional and these really changed the game for me.
When you are seeming your granny squares together you need to choose which side will be the “right” side and which will be the “wrong” side. I sew back and forth in the back loop only so that the front loop will be flat and seamless.
Make sure to start at the very top inside the one of the chain 3 space corners or else you’ll be left with a little notch that isn’t sewn together.
This really allows for a flat, invisible seem on the right side.

When weaving in your ends try to keep them all on the named “wrong” side.

Theres so many possibilities with a simple granny square once you have the hang of it! From cardigans, to basic blankets, shirts and more. So much of crochet is knowing the geometry of how to make shapes and put them together. Once you know how to make squares, rectangles, hexagons, circles, and triangles the possibilities really are endless. Before you know it you’ll be thinking of all the ways you can attach different shapes together.
There are so many patterns beyond the typically granny square, for example ones with flowers inside or fruits. If you enjoy making the basic ones I encourage you to experiment with some different stitches and granny square patterns.
Happy crocheting!