This post may contain affiliate links This means that if you click and purchase, I may receive a small commission at no extra cost to you.
I tried something completely new to me the other week which was using yarn winder. I see gorgeous cakes and finally went out and bought one.
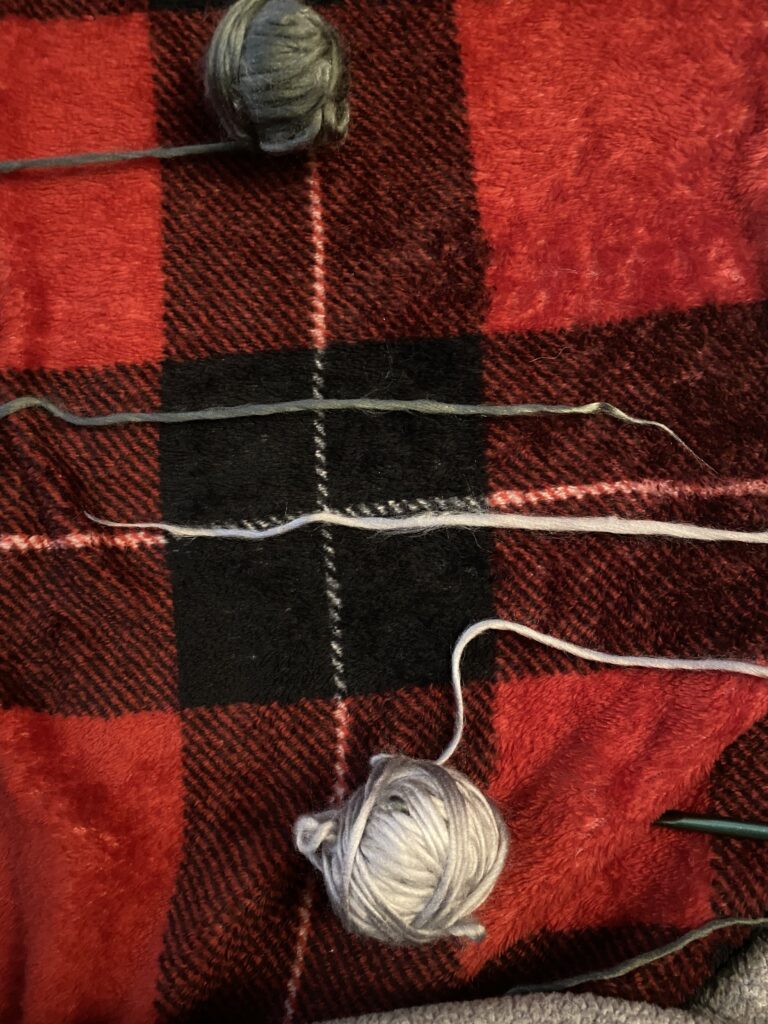
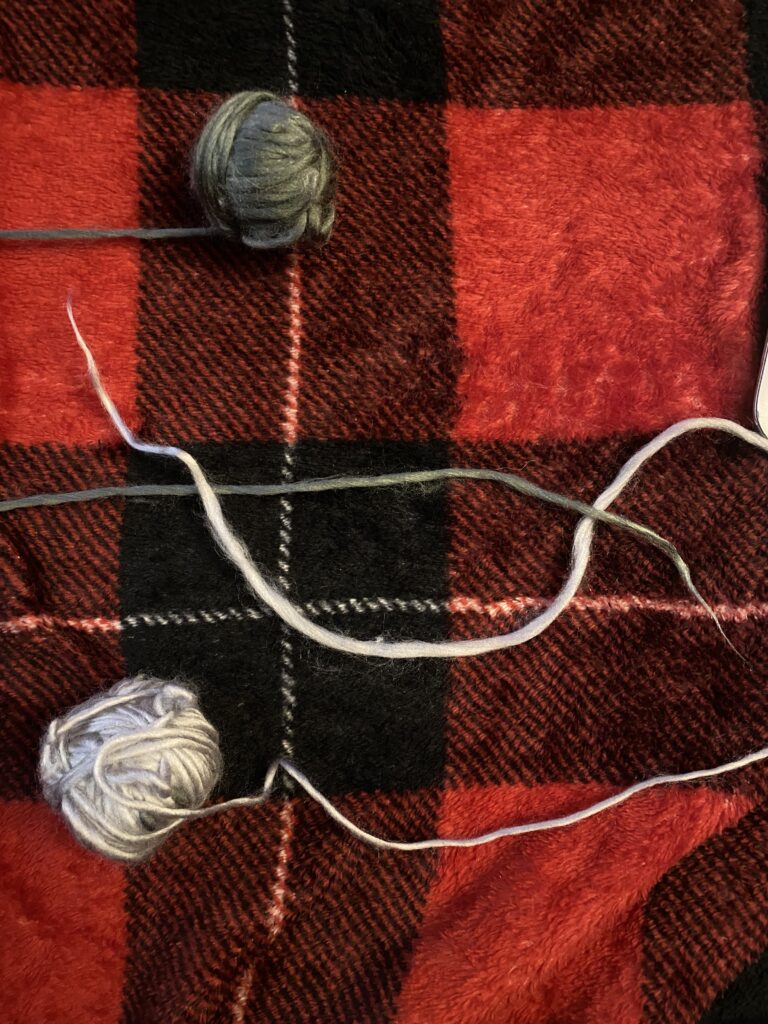
Long story short the winder was defective and unrepairable, leaving me with a few messy balls of yarn.
After returning the yarn winder my next step was to roll this gorgeous yarn by loops and threads into a normal ball of yarn so that I could actually make something with it. This is gorgeous yarn. And will make a beautiful project. However it sticks to itself so easily.
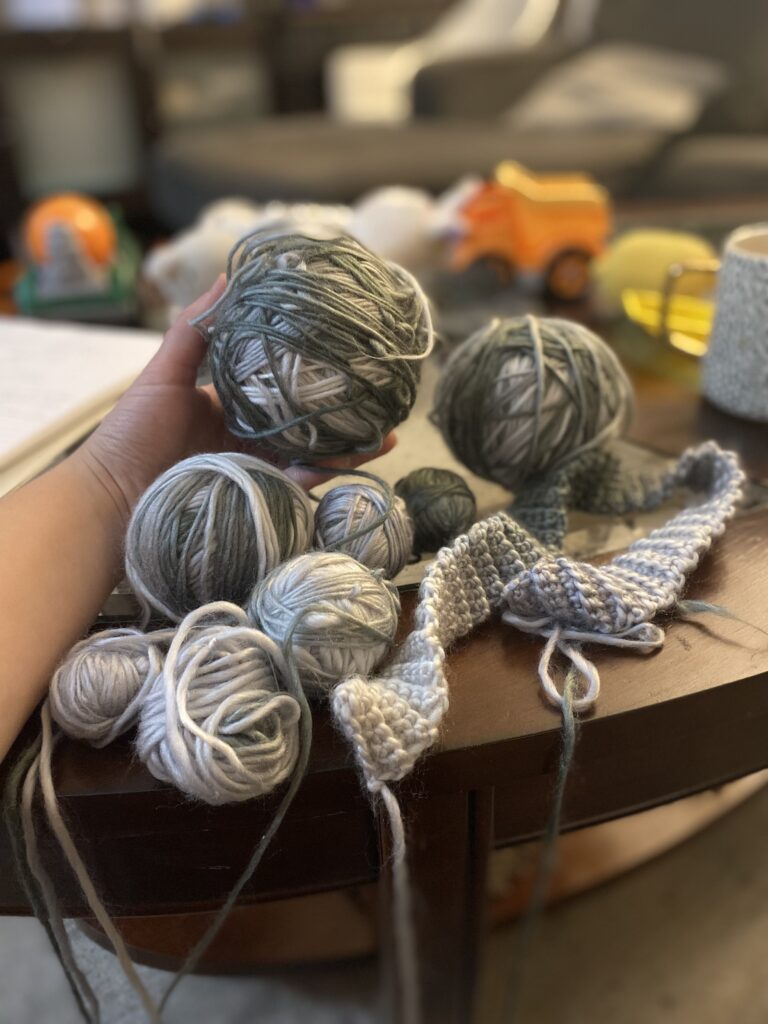
I spent 2 full nights (8 hours?!) trying to unwind this yarn into a ball of yarn.
The end result was many tiny balls of yarn. I thought what better time to make a “how to join yarn” post than this.
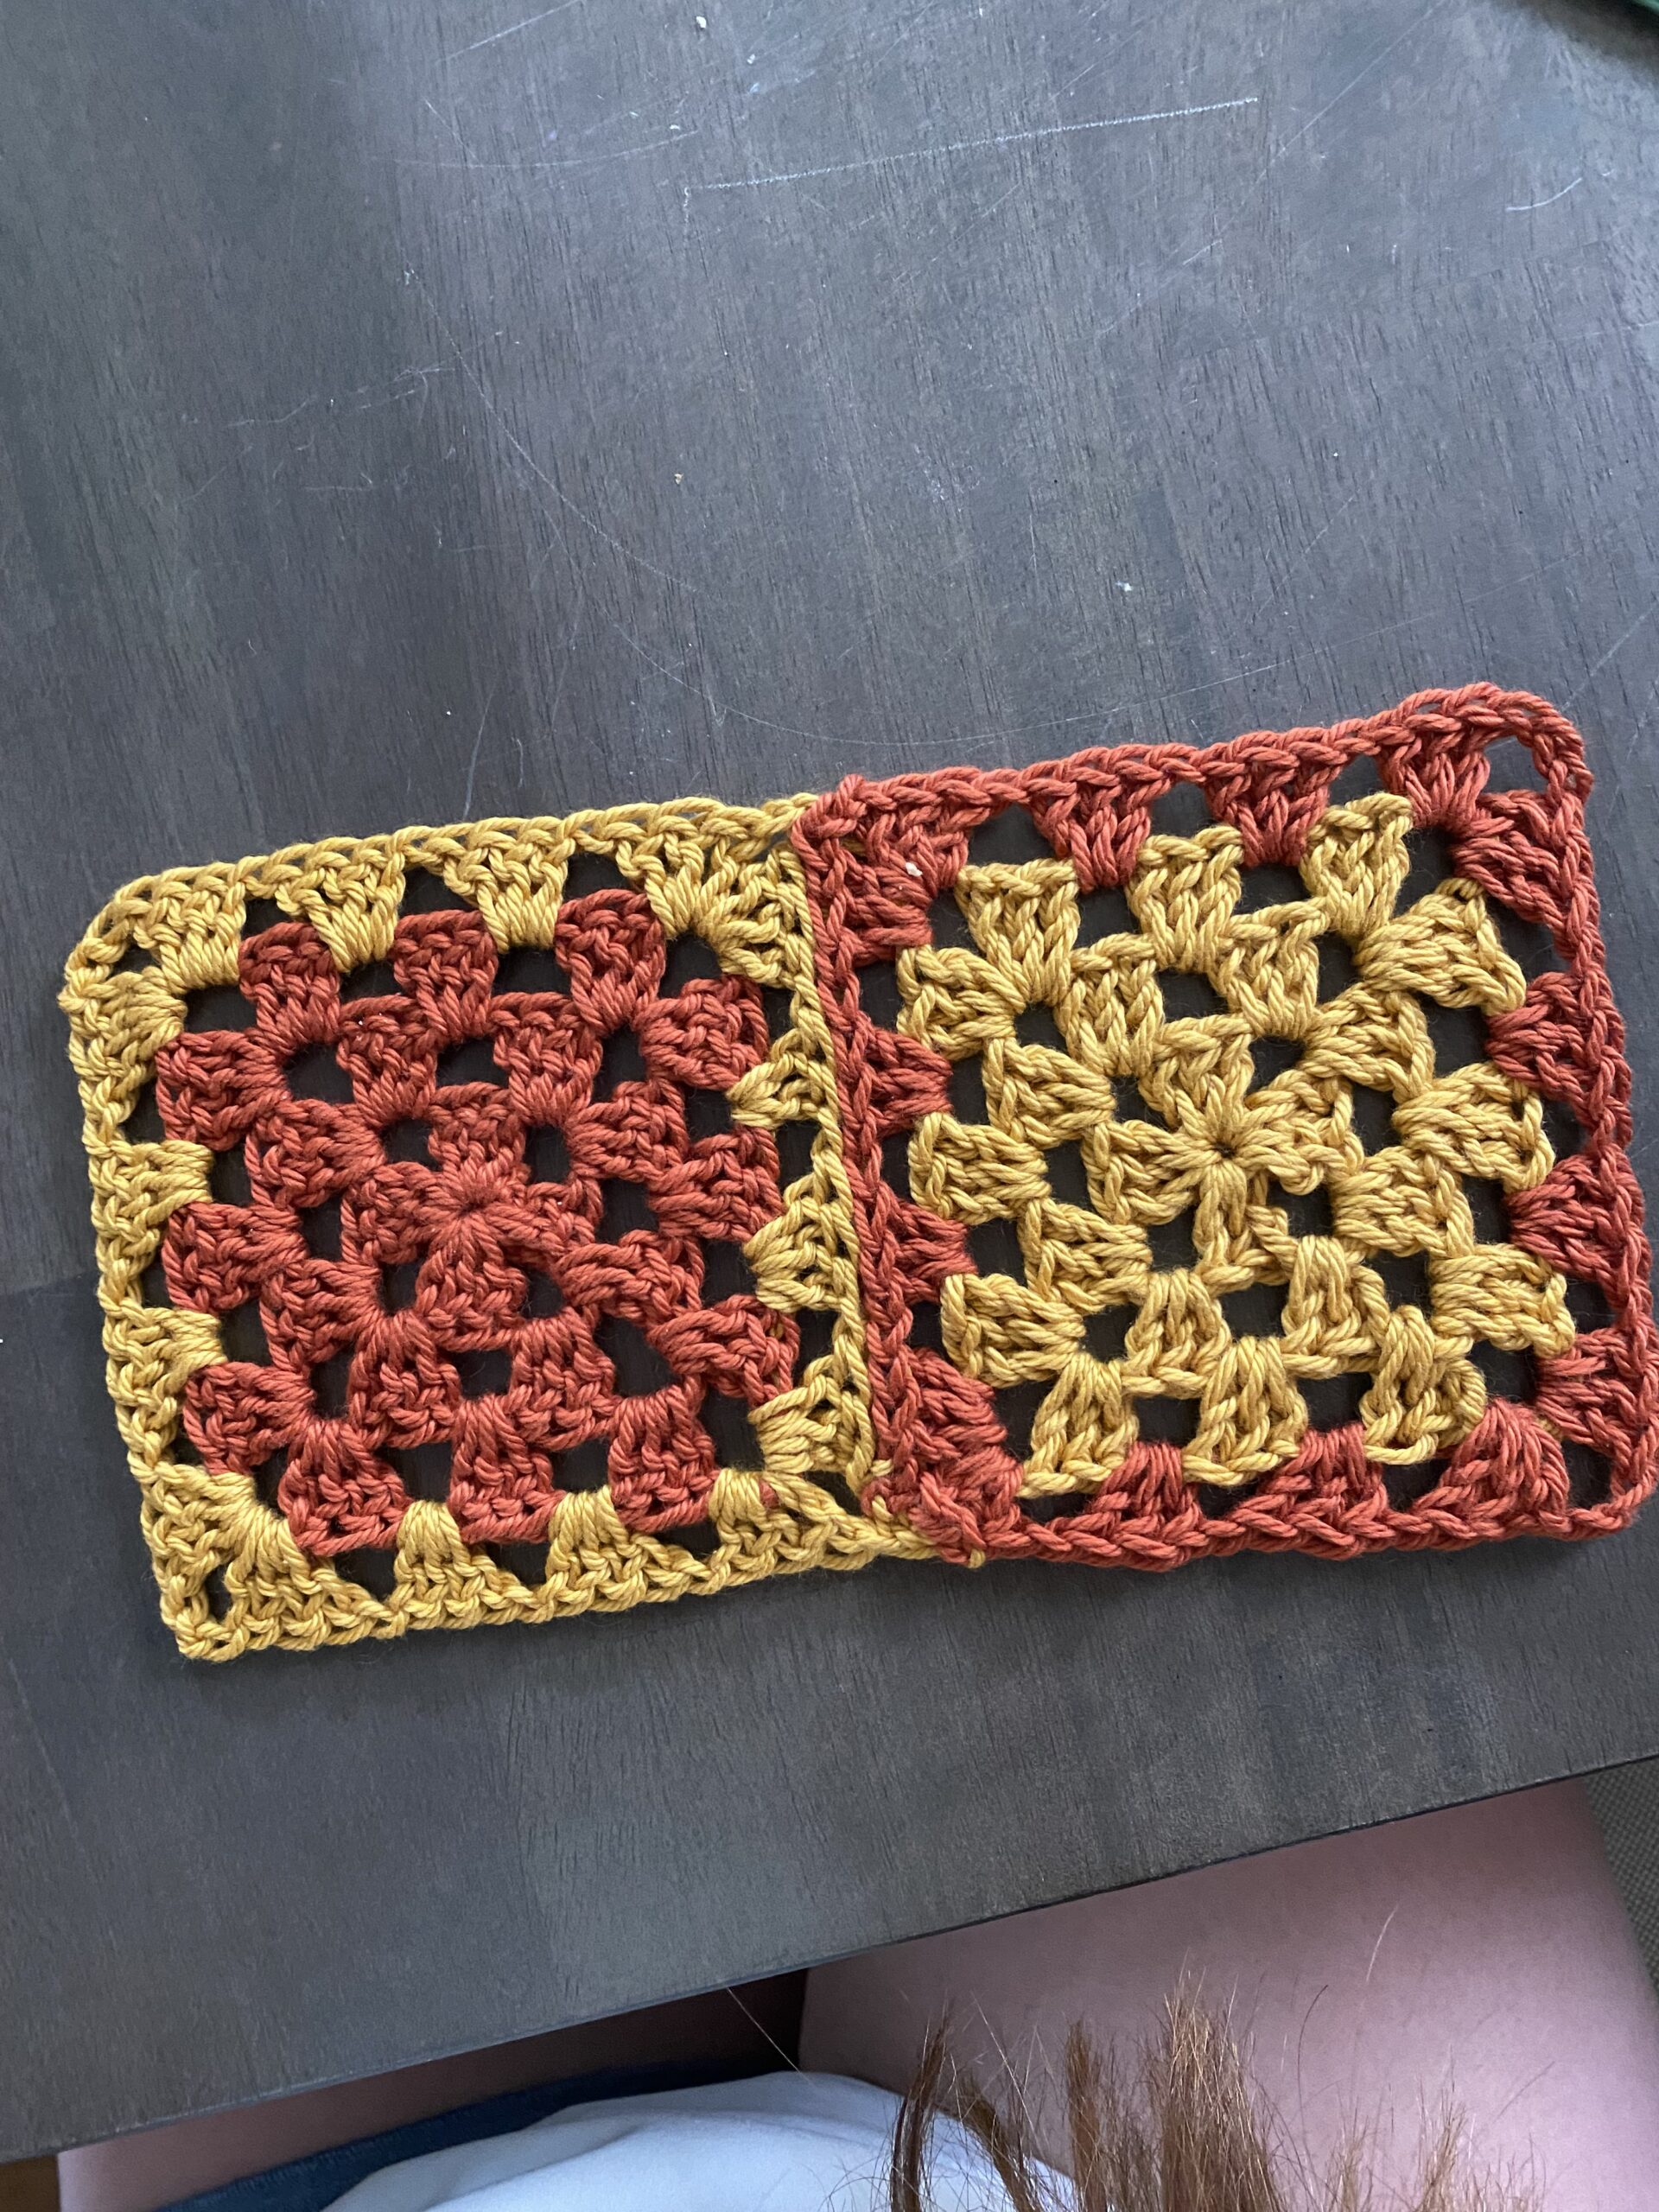
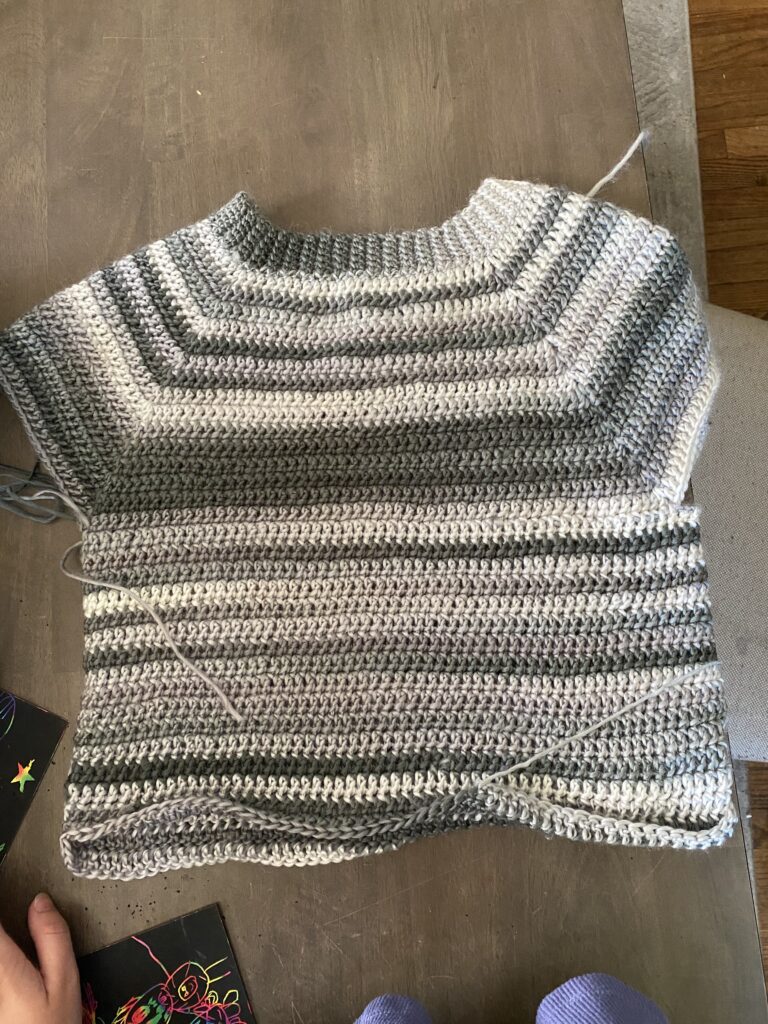
I’m currently making a top-down raglan sweater with it and oh it’s such a beautiful yarn I can’t say it enough!!
Here is my progress on this sweater! I’m really proud of it so far.
If your new to crochet make sure to check out my ultimate beginners guide to crochet!
Now lets get into making incredibly strong yarn joins using the magic knot technique!
The Magic Knot Method Step-by-Step
Position Your Yarn Ends
Lay the two ends of the yarn that you want to join opposite and parallel to each other. You need to have a good amount of overlap (maybe 3-4 inches) because you are making 2 knots. Give yourself enough room to make that happen.
Create the First Knot
Take the end of one yarn end and wrap it over the other, creating a knot around one strand.
Create the Second Knot
Now your creating a knot around the other strand. Opposite you did with the last step. Next, take the end of the other strand and wrap it over the other yarn bit that you originally made a knot with, forming another knot around the other strand.
You will have two knots with a gap in the middle.
Slide The Knots Together
This is the most satisfying part! All you have to do is pull on both sides of the yarn on the far side of the knots and the knots will glide together. This creates basically a double super strong knot.
It will look like this.

Once the knots are securely joined, you can cut the ends of the yarn close to the knot. Or you can keep both of the tails and weave it into your stitches as you go. This ensures the knots won’t unravel during your crochet work. The knots together are super strong, and I’ve never had any problems with this particular method untangling. Even with just cutting the ends off.

And voila! Your magic knot is finished!
It might take a little bit of practice but after the first few tries it might become your favorite method as it has become mine.
I made a short video to explain how to do this magic knot method a little better! Check it out!
The only thing I didn’t include in the video is that you can cut off the ends completely since its so strong.
Thats all there is too it, good luck and happy crocheting!