This post may contain affiliate links This means that if you click and purchase, I may receive a small commission at no extra cost to you.
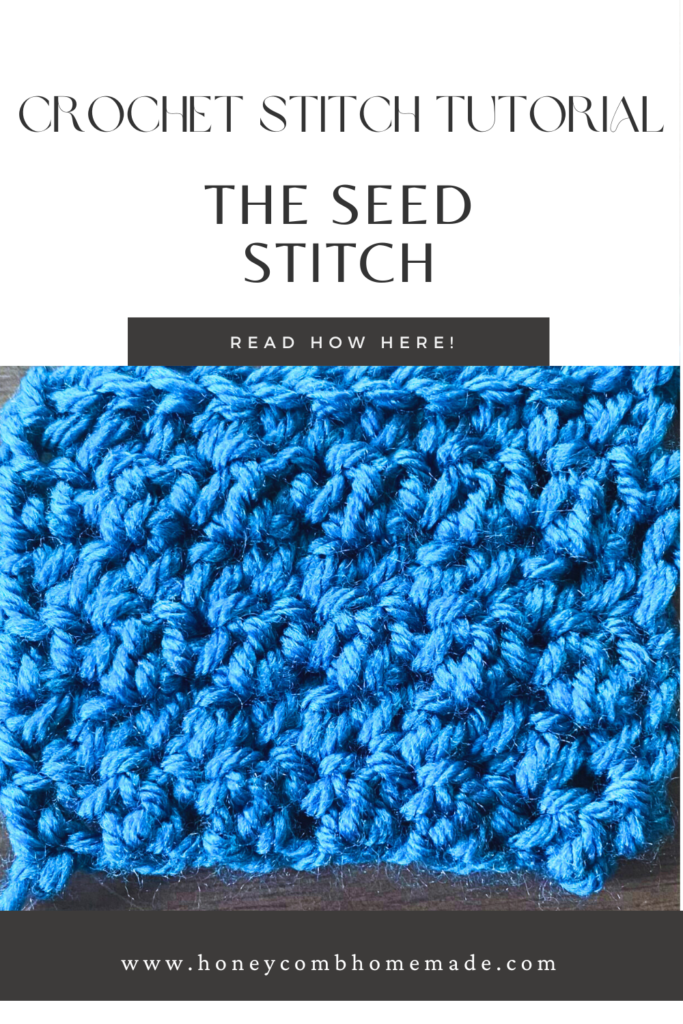
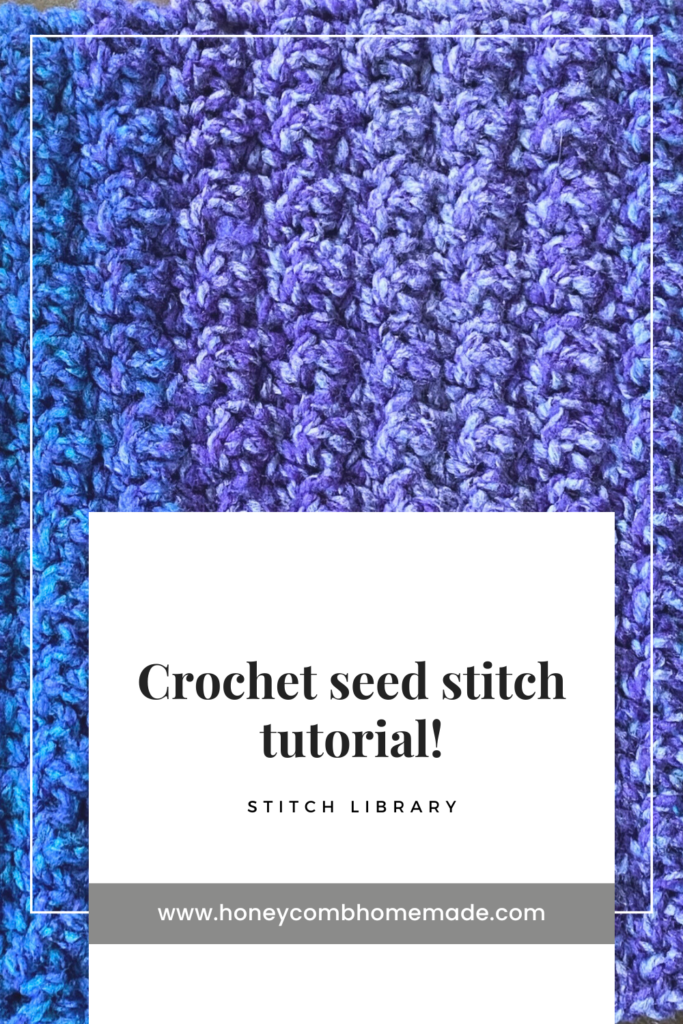
The seed stitch has to be one of my all time favorite crochet stitches for a few good reasons. This stitch is perfect for beginners because it consists of two basic stitches. The single crochet and the double crochet.
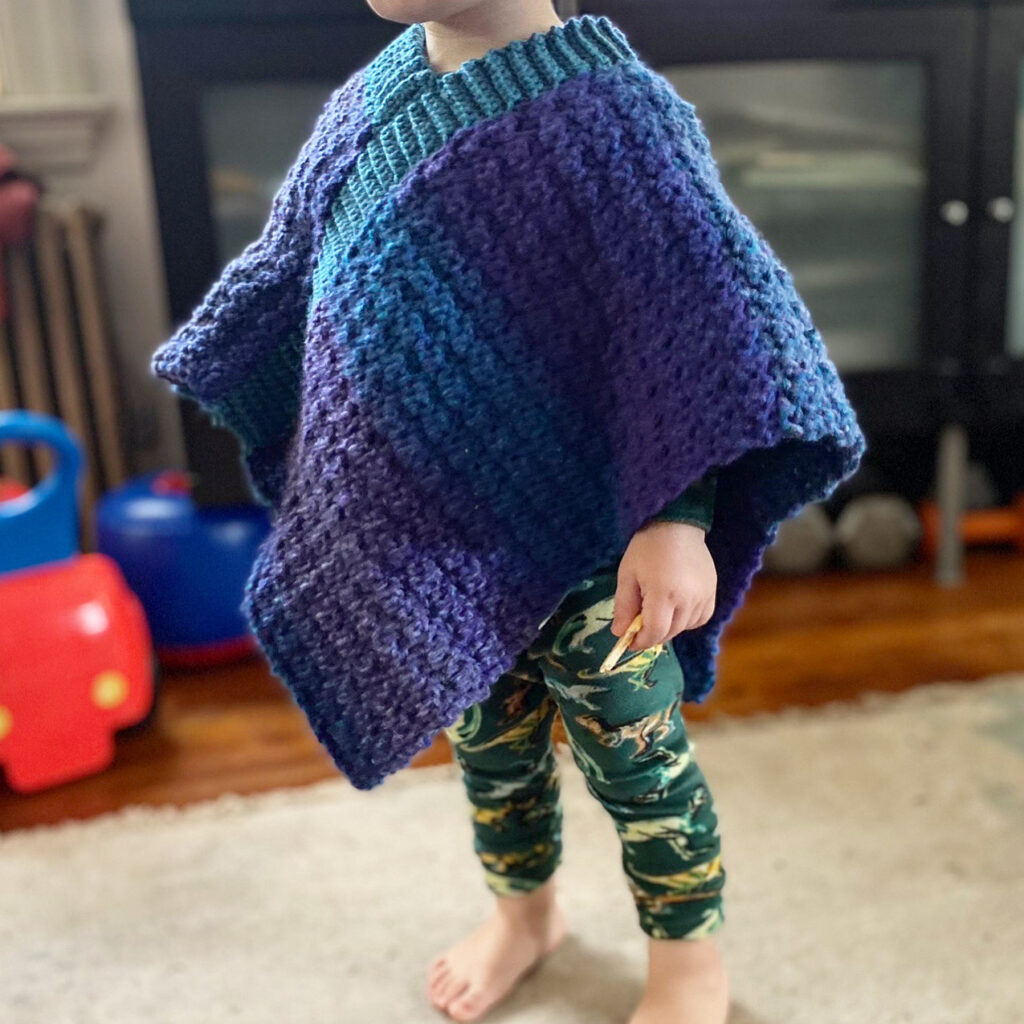
I’m working on a pattern for a toddler poncho right now that uses this stitch, so I figured what a perfect time to make a full tutorial for all my beginners out there to get this in their crochet tool-belts!
If you’re a complete beginner and need a little reminder of the single crochet and double crochet check out my ultimate beginners guide to crochet.
What I love about this stitch
This stitch is made in multiples of 2+1 which makes it easy to plan and calculate.
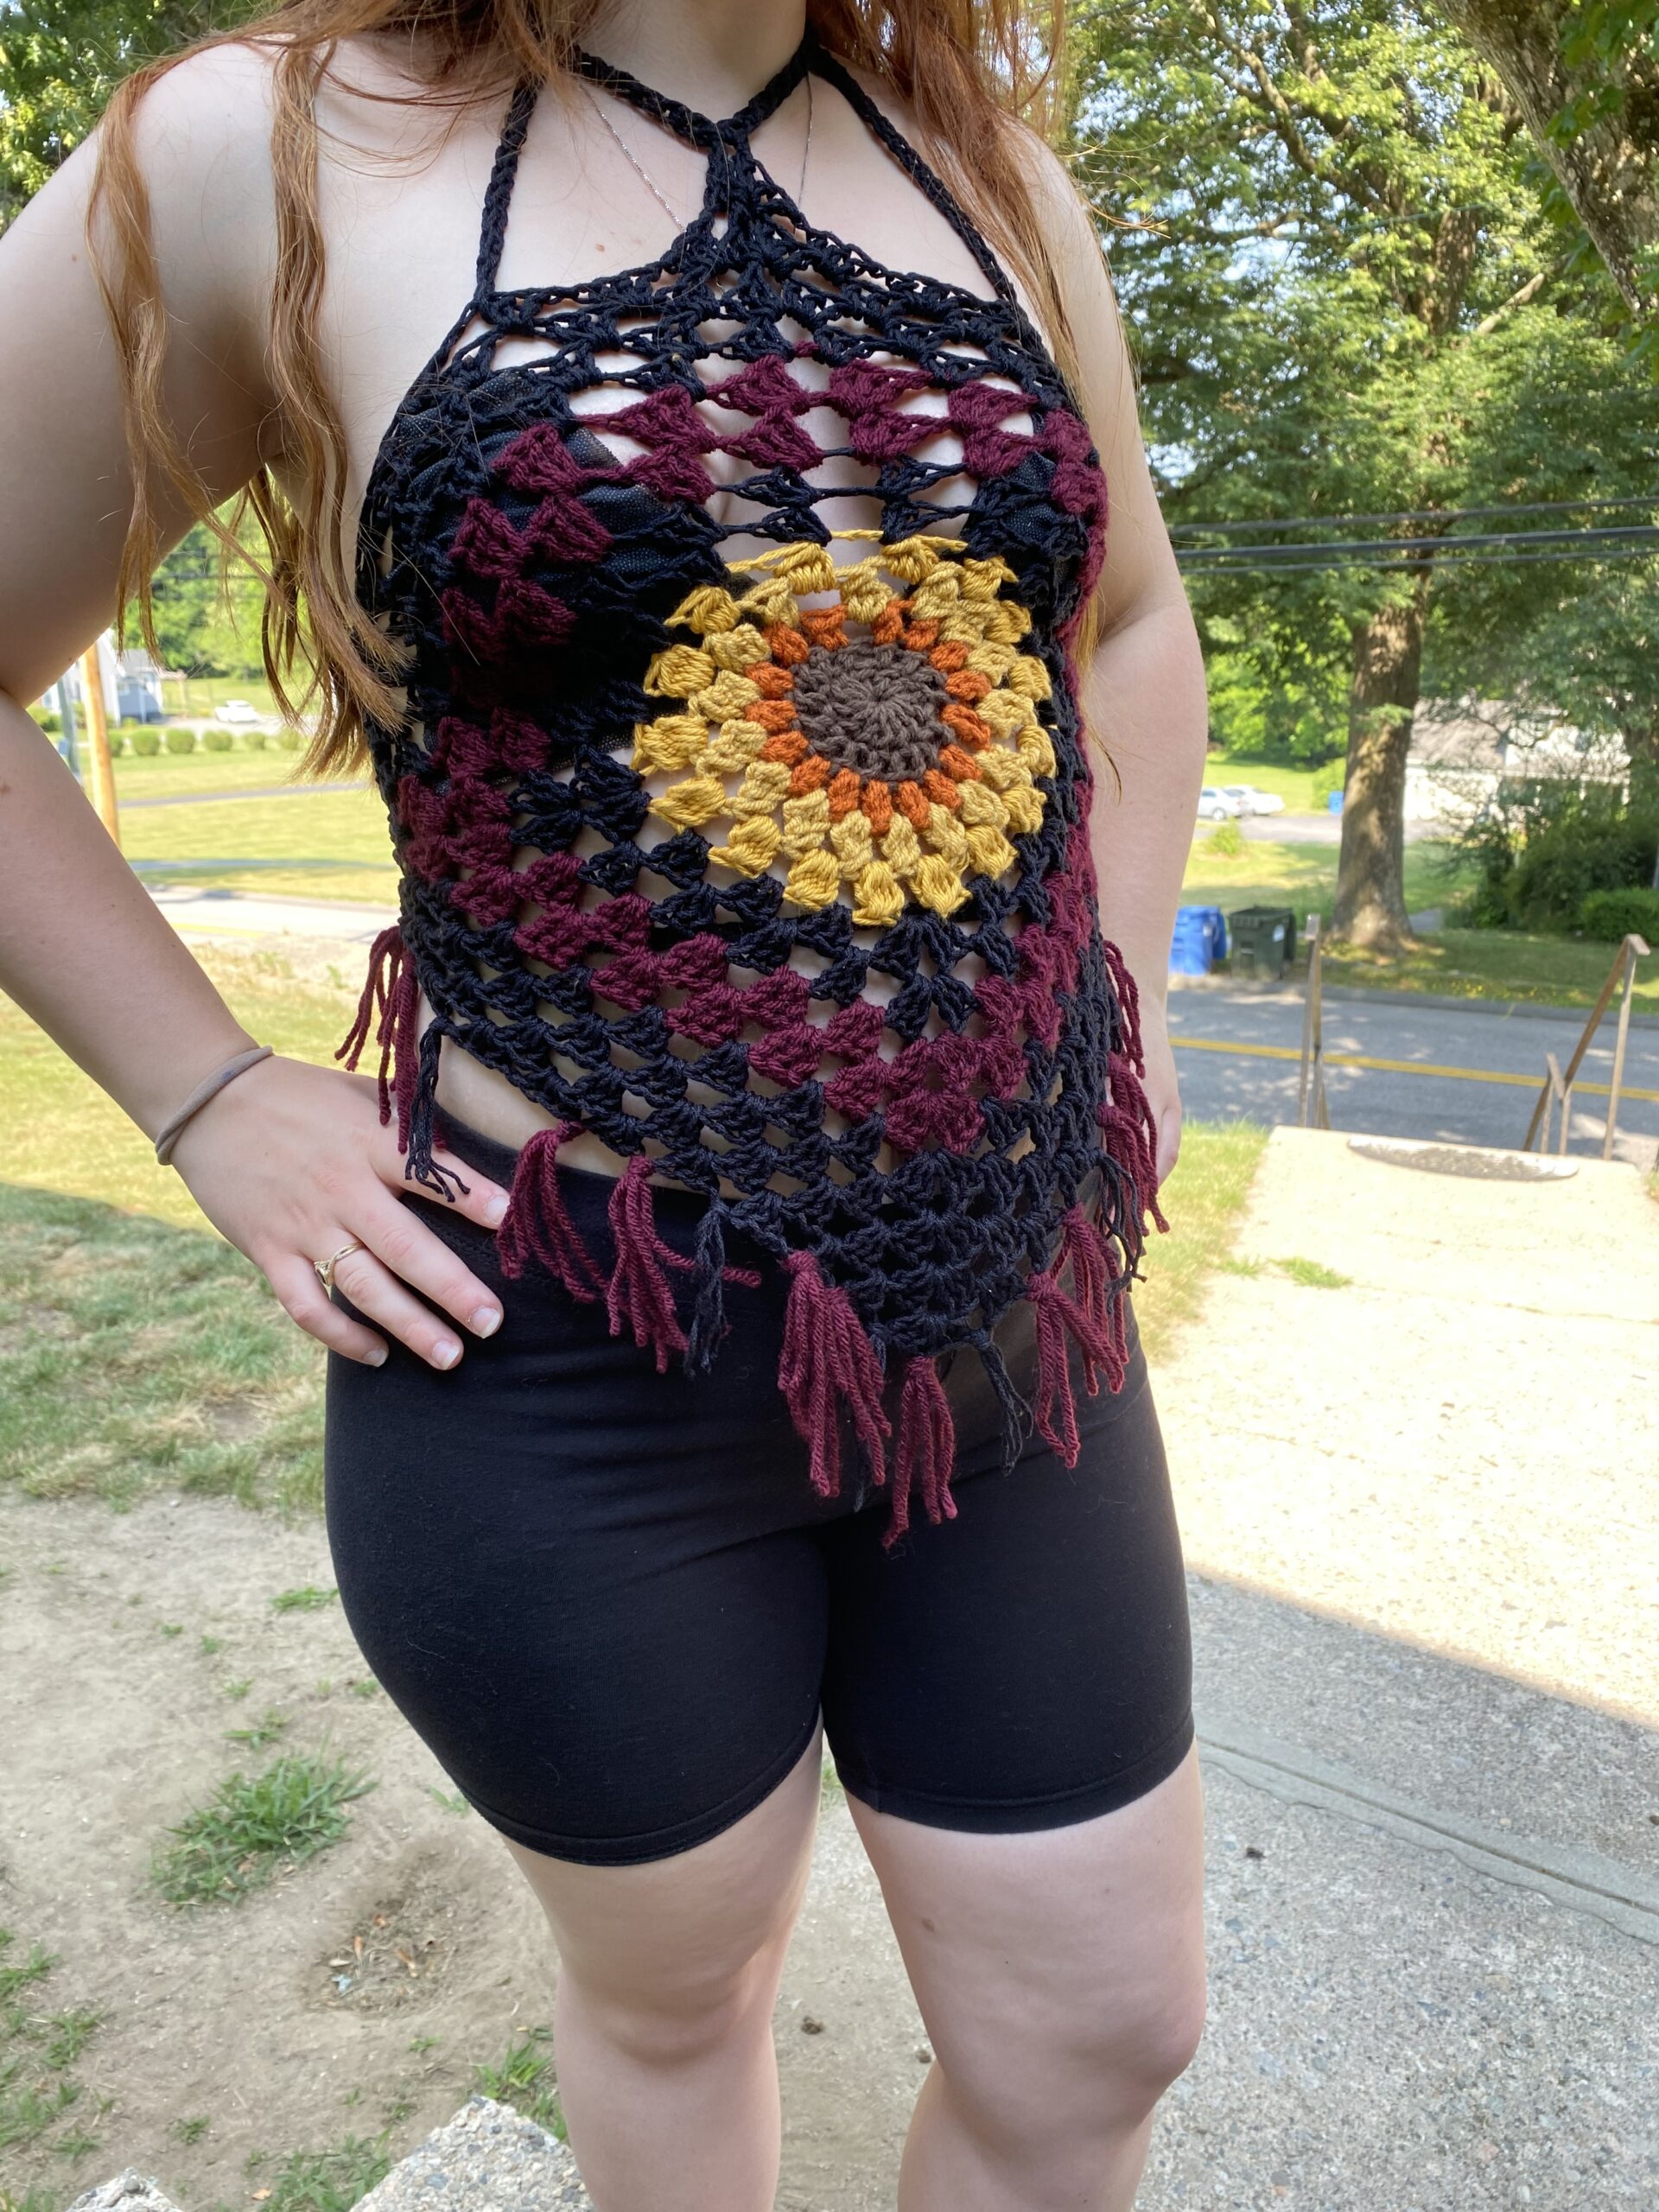
It is a simple stitch but it looks fancy. It’s very versatile and can be used for many different things. I really like the way that this stitch drapes. I’ve made scarves with this stitch, I would consider making a summer shirt with it.
If you like making shorter projects, this stitch is perfect for dishcloths if you use a denser yarn.
If your looking to add some texture to a piece look no further. The seed stitch is perfect for adding texture.
Step-by-Step Guide to Crocheting the Seed Stitch:
Follow along for a step by step guide! You can also skip to the end of this post to see a video tutorial that I created.
Helpful tip
I’m using a size H hook and a medium weight 4 yarn as an example of this stitch. I would recommend using this to practice the seed stitch. I highly recommend using bright, single colored yarn so that you can see the pattern. This will make it easier to read your stitches as you go.
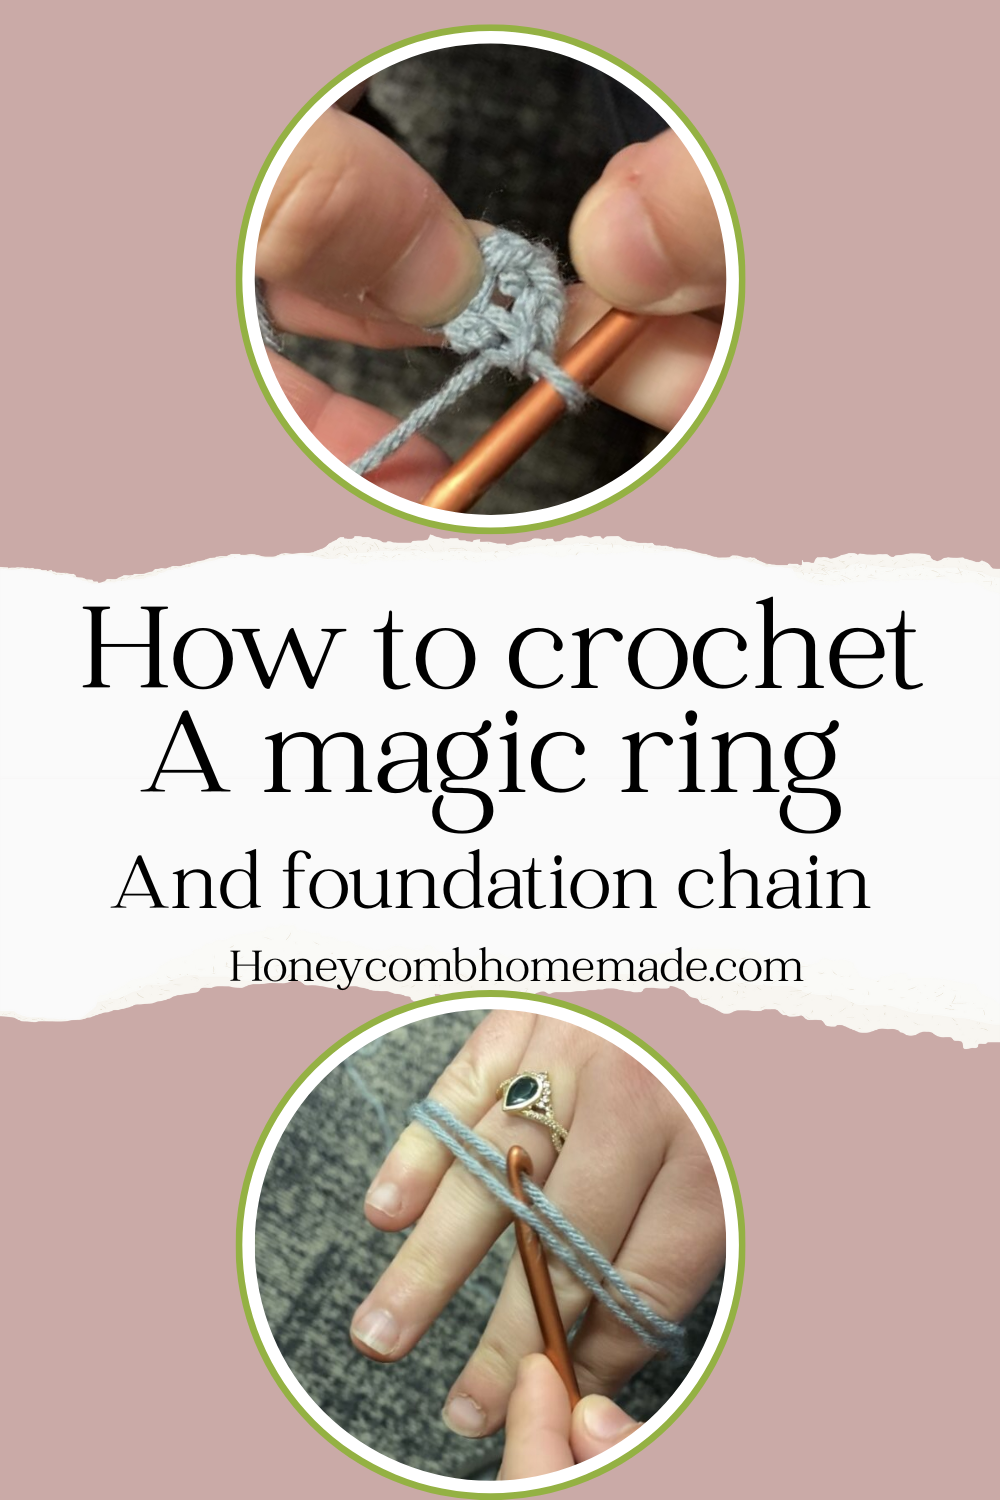
Foundation Chain
Start with a Slip Knot: Create a slip knot and place it on your crochet hook.
Chain: Make a foundation chain in multiples of 2 plus 1 additional chain. For example, chain 13 if you want to start with a base of 12 stitches (multiples of 2) plus 1 additional chain.
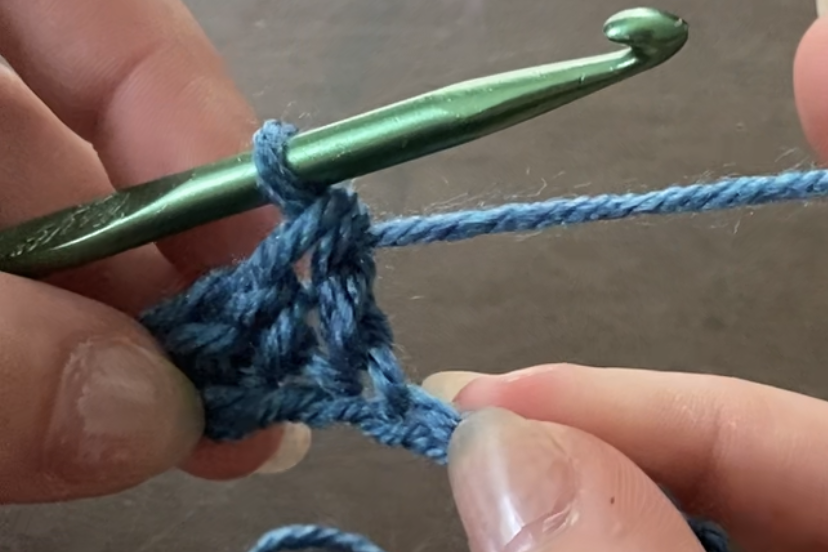
First Row
- Single Crochet (sc): Insert your hook into the second chain from the hook. Yarn over and pull up a loop. Yarn over again and pull through both loops on the hook. This completes one single crochet stitch.
- Double Crochet (dc): Double crochet into the next chain.
- repeating pattern: Single crochet, then Double crochet until you are finished with the row. If you have an even number of stitches you will end with a double crochet. I think keeping an even multiple keeps this stitch neat and also helps you stay on track.
All other rows
- Turning Chain: Chain 1 and turn your work.
- Pattern Repeat: Single crochet into the top of the last double crochet from the previous row, then double crochet into the top of the next single crochet. Repeat this pattern across the row. Again you should end with a double crochet. Every row should be the same.
- Repeat Row 3: Continue repeating Row 3 until your project reaches the desired length.
Because I want to be as helpful as I possibly can, I drew a diagram to follow along if stitch symbol charts are the easiest way for you to learn. If you need any help following along with symbol charts I have a post and handy chart you can find and save here.

Troubleshooting:
Uh oh; You ended with a single crochet. Somewhere along the way you did two double crochets or two single crochets. It’s okay. You can keep going. Just chain 2 at the end of the row and count that as your first double crochet. Skip the 1st stitch (because your chain 2 counts as the first stitch) and single crochet into the second chain.
Then you can ultimately keep going like this with the above being your new repeating pattern.
Some tips:
Counting your stitches is extremely important in this stitch. If you don’t count your stitches chances are you’ll have to revisit the above section about troubleshooting this stitch. Counting stitches isn’t optional for this one.
Reading your stitches: Learning what your single crochet looks like and what your double crochet looks like will be helpful for the seed stitch. For this stitch you are double crocheting where you last single crochet and vise versa. So if you put your project down and come back to it and don’t remember which stitch you ended off on you can look back on the stitch below and see what it was.
Practice: Hate to include this but I have to. Start with a few gauge swatches or a small project like a dishcloth it takes some practice to get it right!
Fasten Off
Fasten Off: Cut the yarn, leaving a tail of several inches. Yarn over and pull through the loop on your hook to secure. Use the yarn needle to weave in the ends.
Video tutorial!
I hope this is helpful! This is such a great stitch, I know you’ll love it as much as I do with a little bit of practice and probably a few frogged projects, But keep going, I know you can do it! Happy crocheting!